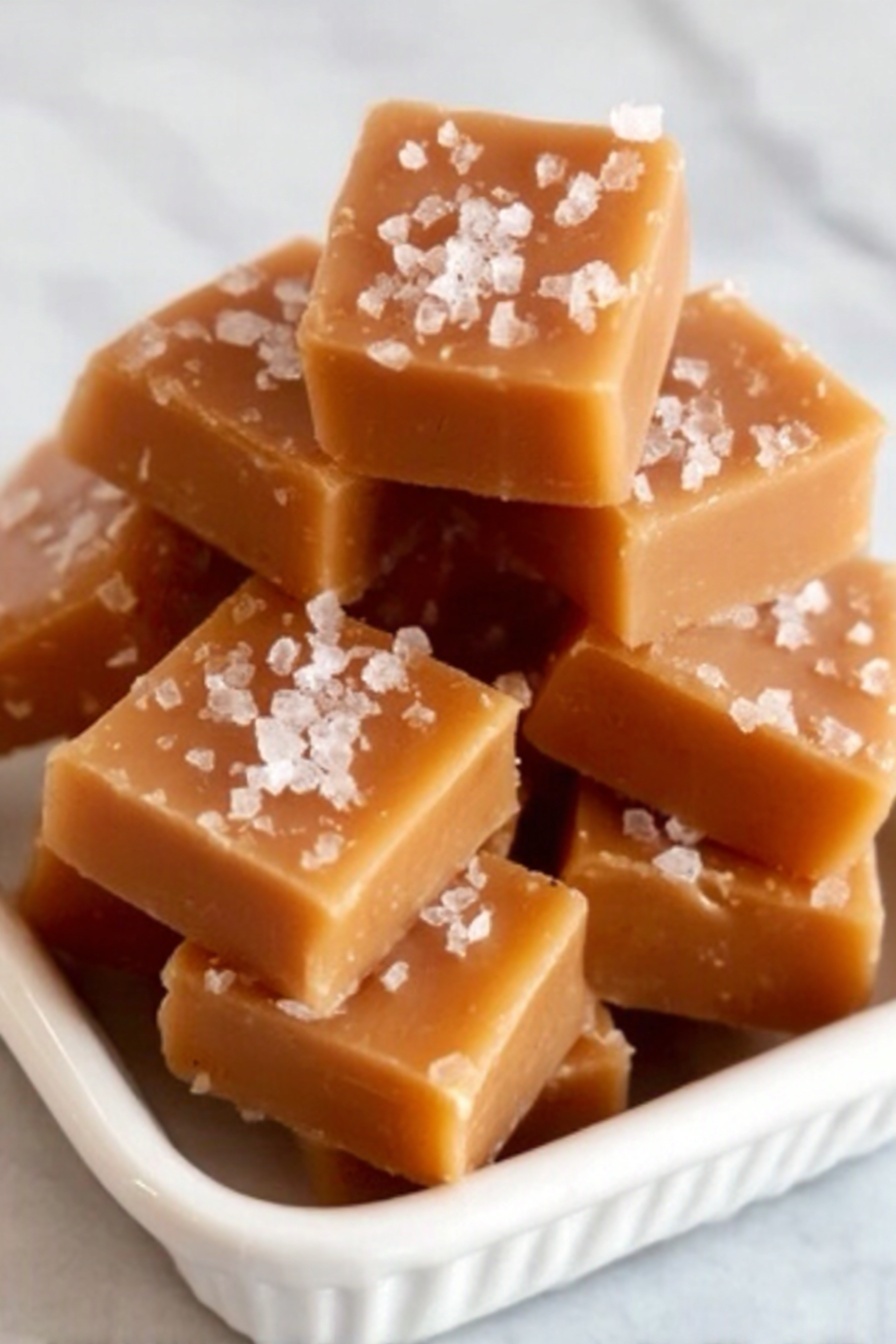
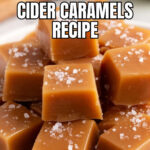
Apple Cider Caramels Recipe
If you love cozy fall flavors, then get ready to fall head over heels for my Apple Cider Caramels Recipe. These little bite-sized treats are bursting with the warm spices of cinnamon, nutmeg, and cloves, all beautifully balanced by the tangy sweetness of reduced apple cider. Trust me, the first time I made these, my kitchen smelled like autumn magic, and I was hooked immediately. Whether you’re gifting them or sneaking a few after dinner, these caramels are as delicious as they are delightful to make—so stick around, because I’m sharing all my best tips to help you nail this recipe!
Why This Recipe Works
- Perfect balance of flavor: The reduced apple cider adds rich, fruity depth that complements the warm spices perfectly.
- Creamy & smooth texture: Using heavy cream and butter makes these caramels delightfully soft but still firm enough to hold their shape.
- Reliable cooking process: Low and slow with a candy thermometer ensures your caramel hits the right temperature for perfect chewiness every time.
- Simple ingredients, big impact: No fancy extras needed—just quality basics and a little patience.

Ingredients & Why They Work
Each ingredient in this Apple Cider Caramels Recipe plays an important role, especially when it comes to flavor layering and the texture of your caramels. Using fresh apple cider that you reduce yourself really elevates the depth here, and spices like cinnamon and nutmeg bring that cozy warmth we all crave in fall treats.

- Apple cider: Reducing it down concentrates the flavors without adding unwanted sweetness, making your caramels taste vibrant and fresh.
- Heavy whipping cream: Adds richness and creaminess essential for smooth, melt-in-your-mouth caramel.
- Ground cinnamon, nutmeg, and cloves: Classic fall spices that enhance the apple notes and make these caramels irresistibly aromatic.
- Granulated sugar: The base for your caramel—crucial for structure and that golden color we love.
- Water: Helps dissolve sugar evenly, aiding in smooth caramelization.
- Light corn syrup: Prevents crystallization so your caramel stays silky, not grainy.
- Butter: Adds richness and a glossy finish to your caramel.
- Maldon flake salt (optional): A finishing touch that elevates the sweetness by contrast if you love a salty-sweet combo.
Tweak to Your Taste
This Apple Cider Caramels Recipe is wonderfully adaptable. I love to tweak the spice profile depending on the season or my mood, and you can too! Caramel making is an art, but it’s also fun to personalize.
- Variation: Sometimes, I swap ground cloves for a pinch of ginger or cardamom to give the caramels a slight kick. It’s my little secret for an unexpected twist that friends rave about.
- Dietary Modifications: For a dairy-free version, try substituting coconut cream and a plant-based butter alternative, but keep a close eye on the consistency as it may vary slightly.
- Seasonal Changes: In spring, I add a hint of vanilla bean instead of spices to keep the caramels lighter and floral.
Step-by-Step: How I Make Apple Cider Caramels Recipe
Step 1: Reduce the Apple Cider to Amplify Flavor
This is where the magic starts! Pour 2 cups of apple cider into a saucepan and bring it to a boil over medium heat. Then let it simmer for 20-30 minutes, stirring occasionally, until it’s reduced down to about 1/3 cup. You want it thick and syrupy, almost jam-like. This concentrated cider is what gives the caramel its signature burst of fresh apple flavor. Once reduced, set it aside to cool—it’s crucial it rests before adding to the caramel so the temperature doesn’t shock the mixture.
Step 2: Prepare the Spice-Cider Cream Mixture
While your cider is cooling, mix together 2/3 cup of heavy whipping cream with the ground cinnamon, nutmeg, and cloves. Then fold in the cooled reduced cider. This blend of creamy, spiced, and fruity layers will be stirred into your caramel syrup later, so it’s best to have it ready and at hand.
Step 3: Craft the Caramel Base with Care
In a heavy-bottomed saucepan, combine the granulated sugar, 1/3 cup of heavy whipping cream, water, and light corn syrup. Cook over low heat, stirring gently until the sugar completely dissolves—this usually takes about 5-10 minutes. Then insert your candy thermometer and let the mixture simmer without stirring until it hits 230°F. This precise temperature is essential for building the caramel’s structure, so don’t rush this step or skip the thermometer. Patience is key!
Step 4: Mix in the Spices, Cider, and Butter
Remove your pan from the heat and whisk in the cider-cream-spice mixture you prepared earlier, followed by the cubed butter. Stir patiently until the butter is fully melted and incorporated—that shiny, glossy texture is your cue. Place the pan back onto low heat, reinsert the candy thermometer, and cook, stirring frequently, until the temperature reaches 244°F. Once there, keep it simmering gently for 2 more minutes. This step locks in that perfect soft but chewy consistency we all dream about.
Step 5: Pour, Cool, and Cut with Love
Line an 8×8-inch pan with parchment paper and give it a light coating of butter or spray to help the caramel release easily later. Pour your luscious caramel into the pan and let it cool completely—either at room temperature or popped into the fridge if you’re impatient like me. Once set, cut into squares or rectangles. For an extra special touch, wrap each piece in wax paper. This not only makes for a charming presentation if you’re gifting but also helps keep them from sticking together.
Pro Tips for Making Apple Cider Caramels Recipe
- Use a reliable candy thermometer: It’s the best way to get consistent texture—don’t rely on guesswork or color alone.
- Don’t rush the cider reduction: Taking your time here maximizes flavor—if you rush, the apple notes can taste flat.
- Stir gently once caramelizing begins: Vigorous stirring can cause crystals to form, which makes your caramels gritty.
- Wrap caramels individually while warm but not hot: This prevents sticking and preserves their soft texture.
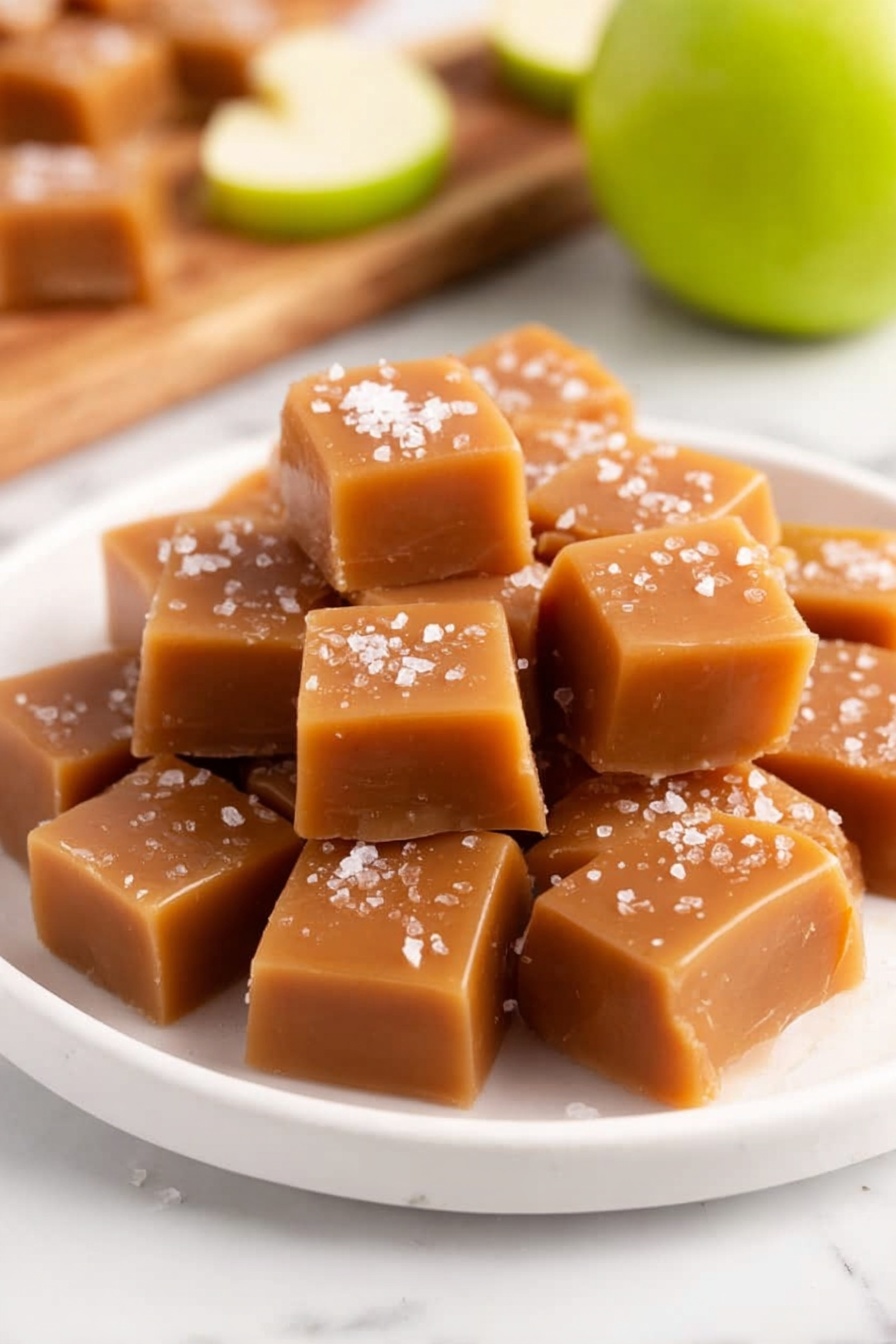
How to Serve Apple Cider Caramels Recipe
Garnishes
I love sprinkling a tiny bit of flaky Maldon salt on the top of each caramel before it sets—it balances the sweetness so beautifully. If you prefer a sweeter finish, dusting with a touch of cinnamon sugar is also wonderful. These little touches add dimension and make enjoying your caramels feel like a treat-worthy experience.
Side Dishes
Although these caramels are a treat on their own, I often serve them alongside hot apple cider or cinnamon-spiced tea to amplify those fall vibes. They also pair beautifully with a sharp cheddar or creamy Brie cheese board if you want to get fancy at your autumn gatherings.
Creative Ways to Present
For holiday gifts or parties, I wrap each caramel individually in wax paper and tie bundles together with rustic twine and a sprig of fresh rosemary or cinnamon stick. It makes for an Instagram-worthy presentation and guests love the personal touch. You can even arrange them in a small glass jar with a handwritten label for a charming homemade gift.
Make Ahead and Storage
Storing Leftovers
I keep leftover caramels in an airtight container, layered between sheets of wax paper, and store them in the refrigerator. They last beautifully for up to 3 weeks this way—trust me, they disappear much faster in my house! Keeping them cold helps maintain their texture and prevents stickiness.
Freezing
Freezing Apple Cider Caramels is totally doable if you want to make a big batch in advance. I wrap each piece well in wax paper, then pop them all into a freezer-safe container or bag. They keep for up to 3 months, and when you’re ready to enjoy, just thaw at room temperature. I find this method works perfectly without compromising the texture.
Reheating
If your caramels get a bit too firm in the fridge or freezer, just leave them out at room temp for 15-20 minutes before eating—they soften up nicely. Avoid microwaving as it can alter the texture and make them sticky. Patience here really pays off for the best bite!
FAQs
-
Can I use store-bought apple cider for this recipe?
Absolutely! Store-bought apple cider works great, but make sure you reduce it properly to intensify the flavor. Unsweetened cider is best to avoid overly sweet results, and if you can find a fresh, high-quality brand, that’s even better.
-
How do I know when the caramel is done?
The key is using a candy thermometer. For this recipe, the caramel should reach 244°F after combining with the cider mixture and butter, which gives you that perfect soft, chewy texture. If you don’t have a thermometer, it can be tricky, but look for a thick, glossy consistency that pulls away cleanly from the sides of the pan.
-
Can I omit the spices?
You can, but the spices are what make this Apple Cider Caramels Recipe truly special. If you’re not a fan, try at least a small amount—cinnamon especially adds warmth and complexity without overpowering the apple.
-
Why are my caramels grainy?
Grainy caramels usually happen when sugar crystals form during cooking. To avoid this, make sure to dissolve the sugar completely before heating further and don’t stir vigorously once the temperature rises. Using corn syrup also helps prevent crystallization.
Final Thoughts
There’s something truly satisfying about crafting homemade caramels, especially when they capture the essence of fall with every chewy bite. This Apple Cider Caramels Recipe brings together so many cozy flavors you’ll want to make it again and again. Whether it’s for a special occasion or just because you deserve a sweet indulgence, I hope my tips help you enjoy the process and end up with caramels that make you smile. Give it a try—you’re going to love how these taste straight from your kitchen to your heart.
Print
Apple Cider Caramels Recipe
- Prep Time: 15 minutes
- Cook Time: 40 minutes
- Total Time: 55 minutes
- Yield: 48 pieces
- Category: Dessert
- Method: Stovetop
- Cuisine: American
Description
Deliciously soft and chewy Apple Cider Caramels infused with warm spices and rich butter, perfect for a seasonal treat or gifting during the holidays.
Ingredients
Apple Cider Reduction
- 2 cups apple cider
Spice and Cream Mixture
- 2/3 cup heavy whipping cream
- 1 1/4 teaspoons ground cinnamon
- 1/4 teaspoon nutmeg
- pinch ground cloves
- reduced apple cider (from above)
Caramel Base
- 1 1/2 cups granulated sugar
- 1/3 cup heavy whipping cream
- 3 tablespoons water
- 1/3 cup light corn syrup
- 1/2 cup butter, cubed
Optional
- Maldon flake salt, for sprinkling
Instructions
- Reduce cider: In a saucepan, boil 2 cups of apple cider for 30 minutes or until it reduces down to approximately 1/3 cup. Set aside to cool completely.
- Combine spices and cream: In a small bowl, mix 2/3 cup heavy whipping cream with 1 1/4 teaspoons cinnamon, 1/4 teaspoon nutmeg, a pinch of ground cloves, and the cooled reduced apple cider. Set this spiced cream mixture aside.
- Make caramel base: In a heavy-bottomed saucepan, combine 1 1/2 cups sugar, 1/3 cup heavy cream, 3 tablespoons water, and 1/3 cup corn syrup. Cook over low heat, stirring occasionally, until the sugar fully dissolves, about 10 minutes. Attach a candy thermometer and simmer until the temperature reaches 230°F.
- Combine caramel and spice mixture: Remove the pan from heat and whisk in the spiced cream and apple cider mixture. Add 1/2 cup cubed butter, stirring until fully incorporated.
- Cook caramel to final temperature: Return the pan to low heat, reinsert the candy thermometer, and cook while stirring frequently until the mixture reaches 244°F. After reaching this temperature, continue cooking for an additional 2 minutes to ensure the proper caramel consistency.
- Pour into pan to set: Remove from heat and pour the hot caramel into a parchment-lined 8×8 inch pan previously greased with butter or cooking spray. Allow to cool completely at room temperature or refrigerate until firm.
- Cut and wrap: Once set, cut the caramel into 48 squares or rectangles. Wrap each piece individually in wax paper to prevent sticking and maintain freshness.
- Store properly: Store wrapped caramels in an airtight container at room temperature or in the refrigerator for up to 3 weeks.
Notes
- Use a heavy-bottomed saucepan to prevent burning the caramel.
- A candy thermometer is essential for monitoring accurate temperatures.
- If you prefer softer caramels, remove from heat slightly before reaching 244°F.
- To add a finishing touch, sprinkle Maldon flake salt on top of the caramel before it sets.
- Ensure all ingredients are measured accurately for the best texture.
- Letting the cider reduce fully enhances the concentrated apple flavor.
- Work carefully while handling hot caramel to avoid burns.
Nutrition
- Serving Size: 1 piece
- Calories: 90 kcal
- Sugar: 14 g
- Sodium: 30 mg
- Fat: 3.5 g
- Saturated Fat: 2 g
- Unsaturated Fat: 1 g
- Trans Fat: 0 g
- Carbohydrates: 15 g
- Fiber: 0 g
- Protein: 0.2 g
- Cholesterol: 10 mg


