Baked Cottage Cheese Wrap Recipe
If you’re on the lookout for something delicious, protein-packed, and a little bit different, I have to share my favorite Baked Cottage Cheese Wrap Recipe with you. This wrap is like a cozy, cheesy hug but way lighter than you might expect—and baking it gives it the perfect slight crispiness that makes it irresistible. Whether you’re meal prepping or just craving a fresh spin on wraps, this recipe is fan-freaking-tastic and surprisingly easy to pull together. Trust me, once you try this, you’ll want to make it again and again!
Why This Recipe Works
- Simple, wholesome ingredients: Only a handful of staples come together for an unexpectedly elevated wrap base.
- Protein-packed and satisfying: Cottage cheese and eggs make this wrap filling without being heavy.
- Versatile and customizable: You can fill it with all your favorite flavors, from savory to fresh veggies or smoky salmon.
- Baking creates perfect texture: The wrap comes out firm yet tender, holding fillings beautifully without falling apart.

Ingredients & Why They Work
The magic of this Baked Cottage Cheese Wrap Recipe lies in its ingredients—simple but carefully chosen to create a wrap that’s both tasty and sturdy enough to hold all your delicious fillings. When you get good-quality cottage cheese and fresh eggs, you’re laying a flavorful, creamy foundation that bakes into a perfect vehicle for whatever you dream up next.
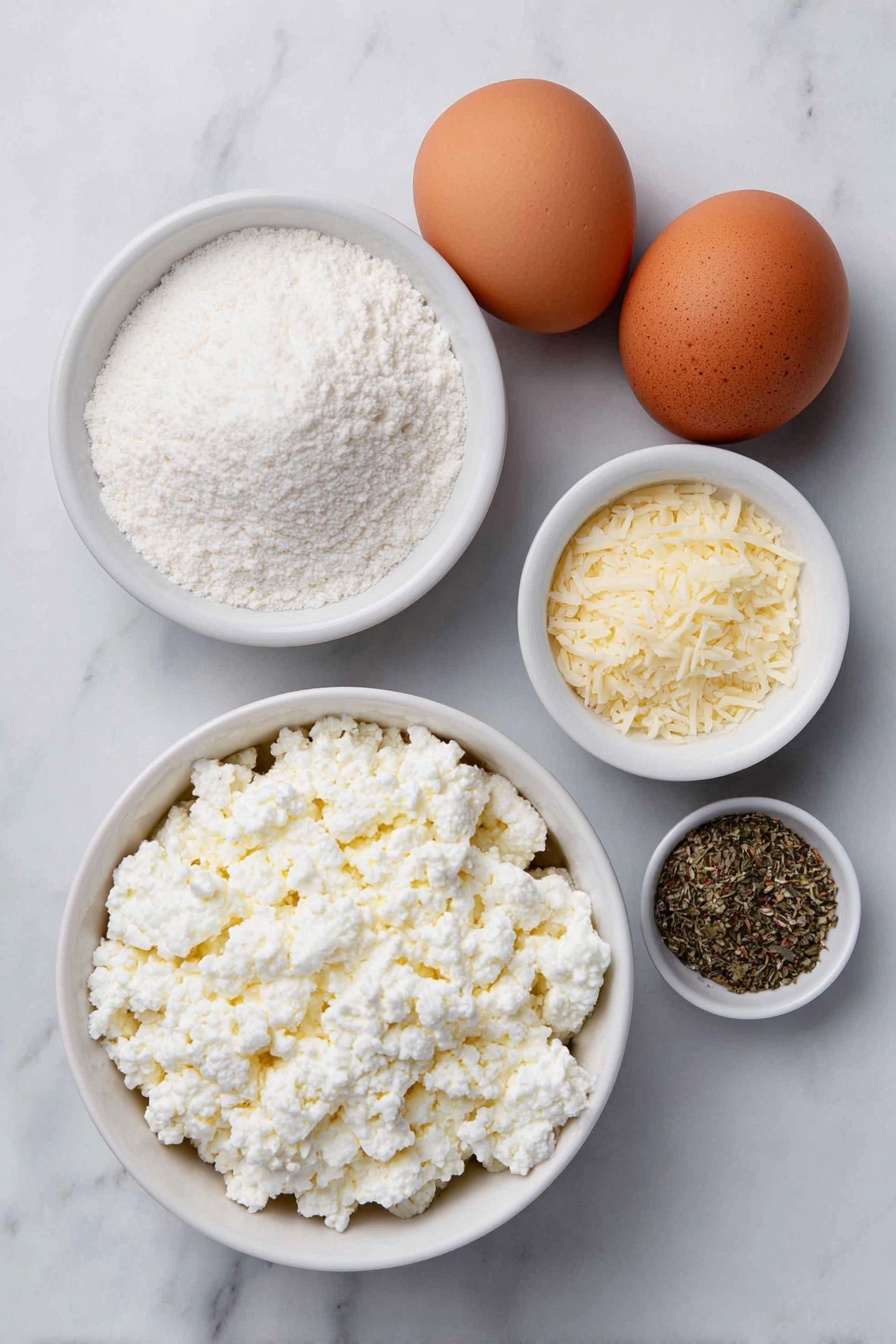
- Full-fat cottage cheese: Creamy and rich, it provides moisture and protein, helping the wrap stay tender yet hold together.
- Large eggs: Eggs bind the mixture and add structure when baked, giving you that firm wrap texture.
- Grated Parmesan cheese: Adds a lovely nutty depth and helps with browning the wrap’s surface.
- Garlic powder: Brings a subtle savory warmth without overpowering the delicate flavors.
- Italian seasoning: A blend of herbs that lend an aromatic, fresh flavor, tying everything nicely.
Tweak to Your Taste
I love that this Baked Cottage Cheese Wrap Recipe is a blank canvas—you can easily tweak it to fit your mood or dietary needs. Over time, I’ve added different herbs and spices to change things up, and you’ll find your own go-to combos too.
- Variation: When I’m craving something a bit earthier, I swap out Italian seasoning for smoked paprika and fresh parsley—it adds a great warmth and color to the wrap.
- Dietary tweaks: For a lower-fat version, try reduced-fat cottage cheese but be careful it might change the texture a bit.
- Seasonal changes: In summer, I load these wraps with fresh cucumber, tomatoes, and mint, while in winter, I go for roasted veggies and spicy hummus fillings.
Step-by-Step: How I Make Baked Cottage Cheese Wrap Recipe
Step 1: Prep Your Oven & Baking Sheet
Start by preheating your oven to 350°F (175°C). This step is non-negotiable for even baking. Line a large baking sheet with parchment paper—not just to prevent sticking, but to make peeling off the wrap easier once baked. Trust me, skipping parchment leads to a world of frustration later!
Step 2: Blend Your Batter Until Smooth
Pop the cottage cheese, eggs, grated Parmesan, garlic powder, and Italian seasoning into a blender or food processor. Blend for about 1 minute until the mixture is silky smooth with no lumps. This smooth base is key—lumps can cause uneven baking and holes in your wrap.
Step 3: Spread the Batter Thin & Bake
Pour the batter onto your prepared baking sheet and use a silicone spatula to spread it evenly into a thin rectangle. Try to keep the thickness consistent—if it’s too thick in spots, those areas won’t bake thoroughly. Pop it in the oven’s center rack for 30–35 minutes until the top looks set and has a delicate golden hue. Some ovens are trickier, so keep an eye after 30 minutes.
Step 4: Cool & Peel Carefully
Once out of the oven, let the wrap cool completely on the tray. This cooling time helps it firm up, so it peels away from the parchment without ripping. When it’s cooled, gently lift the edges with a spatula and peel it off in one piece. If you try to peel it too early, it might break on you.
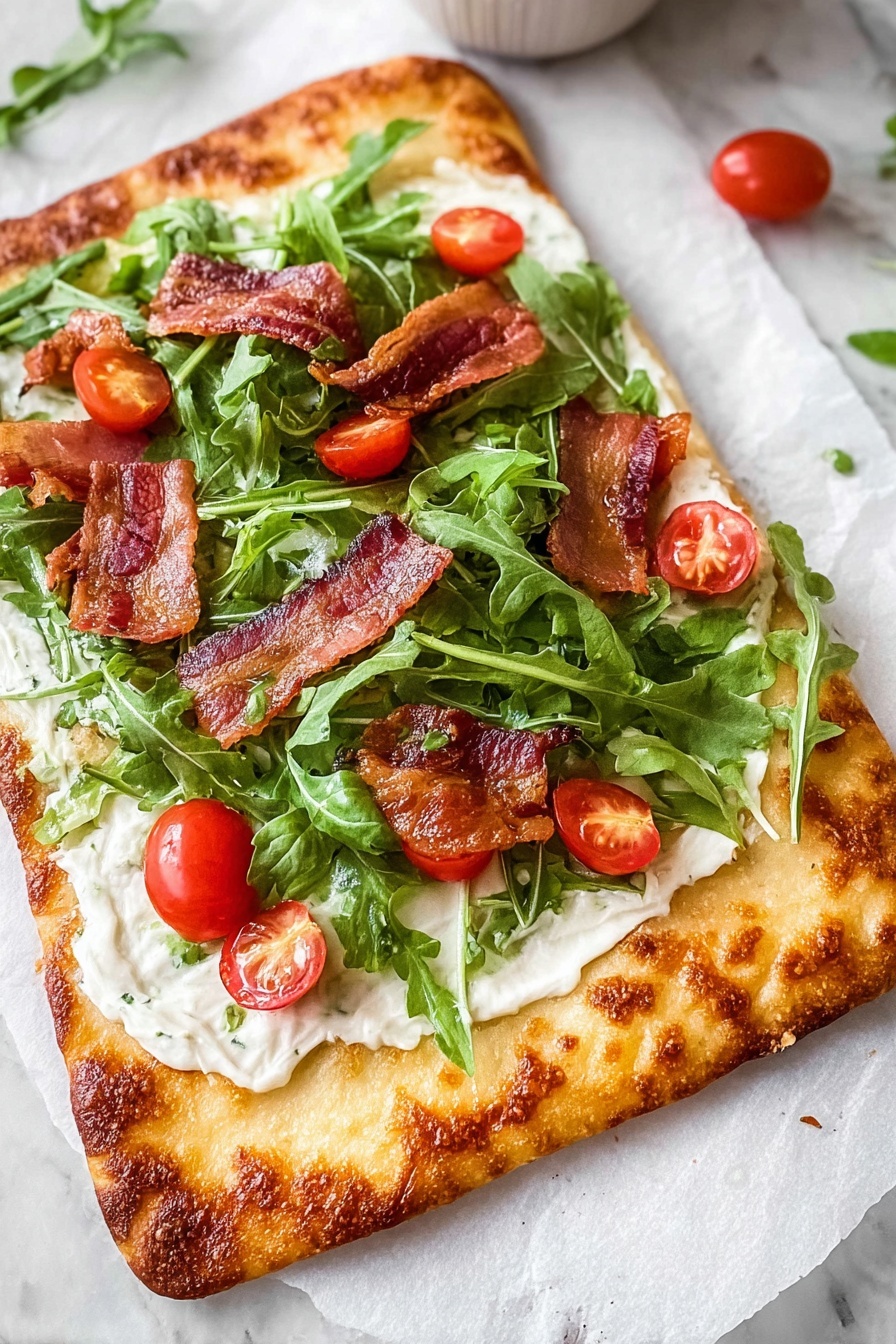
Step 5: Slice & Load Your Favorite Fillings
Cut the wrap into two sections—you’re now ready to load them up! I’ve got a list of combos below that always hit the spot, but feel free to get creative and make it your own.
Pro Tips for Making Baked Cottage Cheese Wrap Recipe
- Use Full-Fat Cottage Cheese: It makes the wrap creamier and more flavorful compared to low-fat versions, so it bakes better too.
- Blend Thoroughly: I’ve found that blending the batter until silky smooth is a game changer for the final texture.
- Don’t Rush Cooling: Let the wrap cool fully before peeling to prevent tearing—patience here pays off.
- Even Spread: Take your time to spread the batter thin and uniform to avoid soggy or undercooked patches.
How to Serve Baked Cottage Cheese Wrap Recipe
Garnishes
When serving these wraps, I love topping them with fresh herbs like basil, dill, or parsley because they brighten the rich flavors so well. A sprinkle of flaky sea salt or cracked black pepper takes it up another notch, and a squeeze of lemon juice (especially with smoked salmon) adds a fresh zing that wakes up your taste buds.
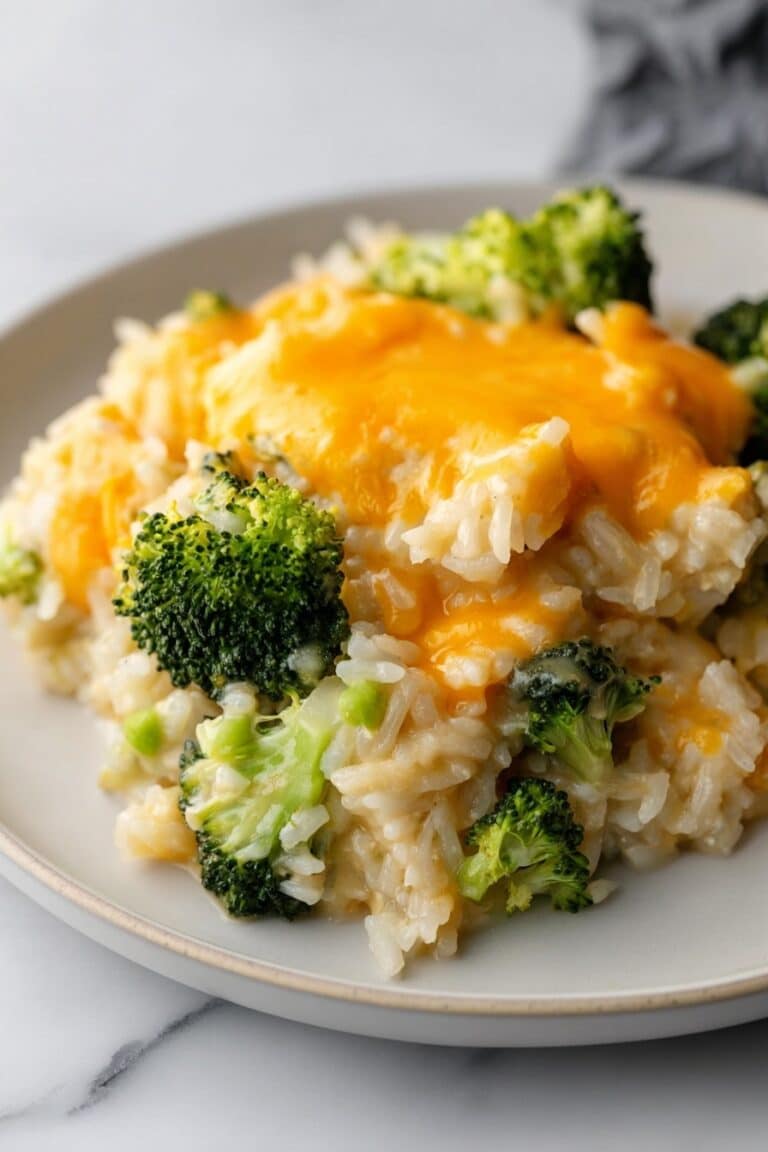
Side Dishes
Side-wise, I’m all about pairing these wraps with crunchy, fresh salads—maybe a cucumber-tomato salad with a light vinaigrette or some crisp baby greens. Roasted sweet potato wedges or crispy kale chips add a nice contrast too and round out the meal beautifully.
Creative Ways to Present
For a brunch or casual party, I’ve served these wraps as bite-sized roll-ups—just slice them into pinwheels and secure with pretty toothpicks. They look so fun on a platter and everyone gets a variety of fillings. You could even layer a couple for a wrap tower appetizer that’s both pretty and practical!
Make Ahead and Storage
Storing Leftovers
I usually store leftover wrap sections and fillings separately—wrap sections go in an airtight container in the fridge, and fillings like grilled chicken or roasted veggies get their own containers. This keeps everything fresh and stops the wrap from getting soggy overnight.
Freezing
If I’m in a busy week ahead mode, I freeze the baked wrap pieces flat in a freezer-safe bag, separated by parchment paper so they don’t stick. When I’m ready to eat, I just thaw in the fridge overnight. Freezing doesn’t affect the texture too much, which is a huge win.
Reheating
To reheat, I warm the wrap gently in a toaster oven or regular oven at a low temp (around 300°F) for about 5-7 minutes just until warmed through. Microwaving can make them rubbery, so I avoid that when possible. Then I add my fillings fresh and enjoy!
FAQs
-
Can I use low-fat or non-dairy cottage cheese in the Baked Cottage Cheese Wrap Recipe?
You can try, but full-fat cottage cheese works best for this recipe. The fat adds creaminess and helps the wrap hold together better once baked. Low-fat versions tend to dry out and may produce a more crumbly wrap. Non-dairy options usually lack the right texture and binding properties, so the wrap might not set properly.
-
How thin should I spread the batter for the wrap?
Aim for an even rectangle about ¼-inch thick. Spreading it too thin can make the wrap fragile and prone to tearing, while too thick can cause uneven cooking and a soggy center. Use a silicone spatula to gently smooth it out and maintain uniform thickness.
-
What fillings go well with Baked Cottage Cheese Wrap Recipe?
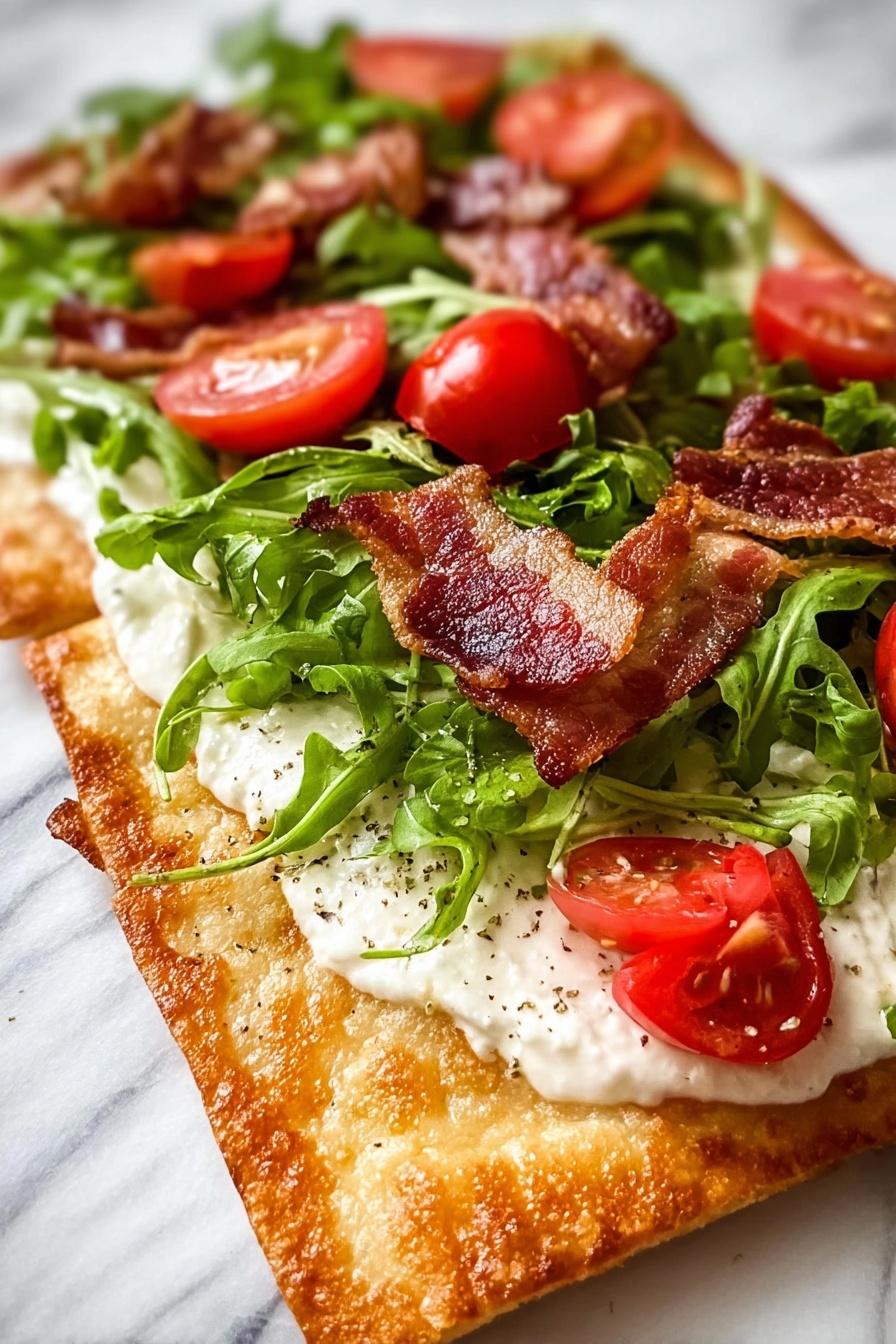
So many fillings work great! Some of my favorites include cream cheese with crispy bacon and cherry tomatoes, grilled chicken with avocado and cucumber ribbons, or smoked salmon with cream cheese and fresh dill. You can go veggie-focused or protein-rich depending on your taste—get creative!
-
How do I stop the wrap from sticking to the parchment paper?
Line your baking sheet with good-quality parchment paper and make sure to let the wrap cool completely before peeling it off. This cooling step firms up the wrap and makes it much easier to lift away cleanly without tearing.
Final Thoughts
This Baked Cottage Cheese Wrap Recipe has quickly become one of my kitchen go-tos when I want a light, savory meal that feels a little special but doesn’t take hours to make. It’s satisfying without being heavy, and the versatility means it never gets boring. I hope you enjoy it as much as I do—think of it as your new secret weapon for tasty, easy homemade wraps that will impress yourself and anyone you share them with!
Print
Baked Cottage Cheese Wrap Recipe
- Prep Time: 5 minutes
- Cook Time: 35 minutes
- Total Time: 40 minutes
- Yield: 2 servings
- Category: Main Course
- Method: Baking
- Cuisine: American
- Diet: Low Carb
Description
A delicious and versatile Cottage Cheese Wrap recipe that combines creamy cottage cheese, eggs, and Parmesan cheese into a thin, baked wrap perfect for a variety of fillings. This high-protein, low-carb wrap is easy to make and can be customized with savory or fresh toppings to suit your taste.
Ingredients
Wrap Ingredients
- 1 cup full-fat cottage cheese
- 2 large eggs
- 4 tbsp grated Parmesan cheese
- 1 tsp garlic powder
- 1 tsp Italian seasoning
Instructions
- Preheat Oven: Preheat your oven to 350°F (175°C) and line a large baking sheet with parchment paper to prevent sticking.
- Prepare Batter: Combine the cottage cheese, eggs, Parmesan cheese, garlic powder, and Italian seasoning in a blender or food processor. Blend for 1 minute until the mixture is silky smooth.
- Spread Batter: Pour the batter onto the prepared baking sheet. Use a silicone spatula to spread it evenly into a thin, uniform rectangle without any gaps.
- Bake: Bake in the center of the oven for 35 minutes or until the top is set and lightly golden. Note that oven times may vary slightly.
- Cool and Remove: Remove the wrap from the oven and allow it to cool completely on the tray to firm up. Once cooled, carefully peel it off the parchment paper.
- Slice and Serve: Cut the wrap into 2 sections and add your favorite fillings such as cream cheese and bacon, grilled chicken and avocado, roasted peppers and feta, or smoked salmon and dill.
Notes
- Make sure to blend the batter well for a smooth wrap texture.
- Allowing the wrap to cool completely before peeling helps it hold together and makes it easier to handle.
- This wrap can be stored in the refrigerator for up to 2 days; reheat gently before serving.
- Feel free to add fresh herbs or spices to the batter to customize the flavor.
- Use parchment paper to avoid sticking and make removal easier.
Nutrition
- Serving Size: 1 wrap
- Calories: 220 kcal
- Sugar: 2 g
- Sodium: 350 mg
- Fat: 14 g
- Saturated Fat: 6 g
- Unsaturated Fat: 7 g
- Trans Fat: 0 g
- Carbohydrates: 4 g
- Fiber: 0 g
- Protein: 20 g
- Cholesterol: 185 mg

