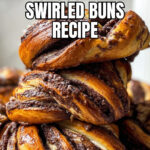
Chocolate Swirled Buns Recipe
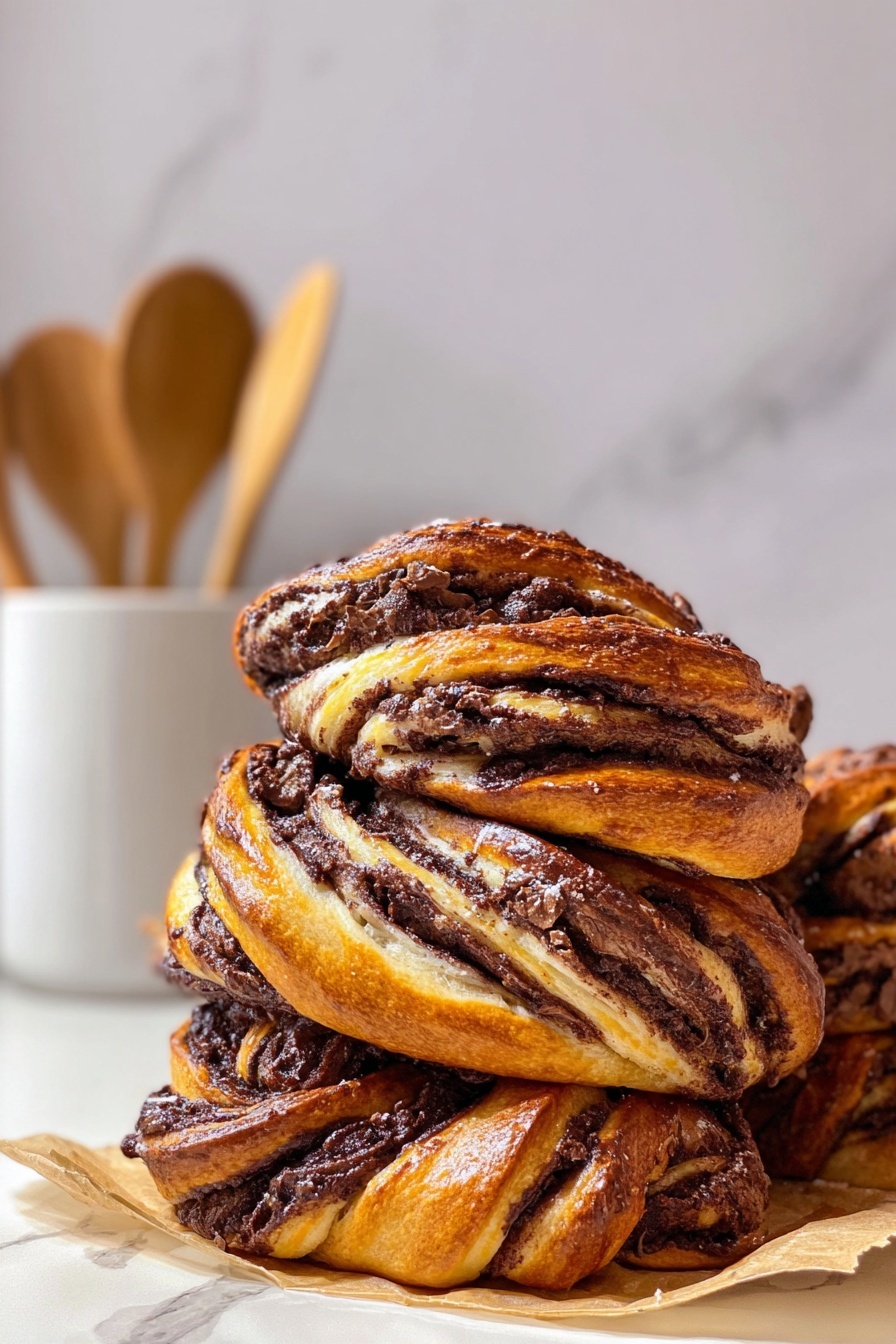
If you love the idea of soft, fluffy buns with rich ribbons of chocolate running through every bite, then this Chocolate Swirled Buns Recipe is going to be your new obsession. I promise these buns are not only gorgeous but utterly delicious, with a melt-in-your-mouth texture and a chocolate filling that’s just the right balance of bitter and sweet. Stick with me, and I’ll walk you through every step to help you nail it perfectly—just like I did the first (and every) time I made them.
Why This Recipe Works
- Perfect Dough Texture: The dough is soft yet elastic, which makes it easy to shape without tearing.
- Rich Chocolate Filling: Combining bittersweet chocolate with cocoa and powdered sugar creates a luscious, smooth swirl that isn’t overpoweringly sweet.
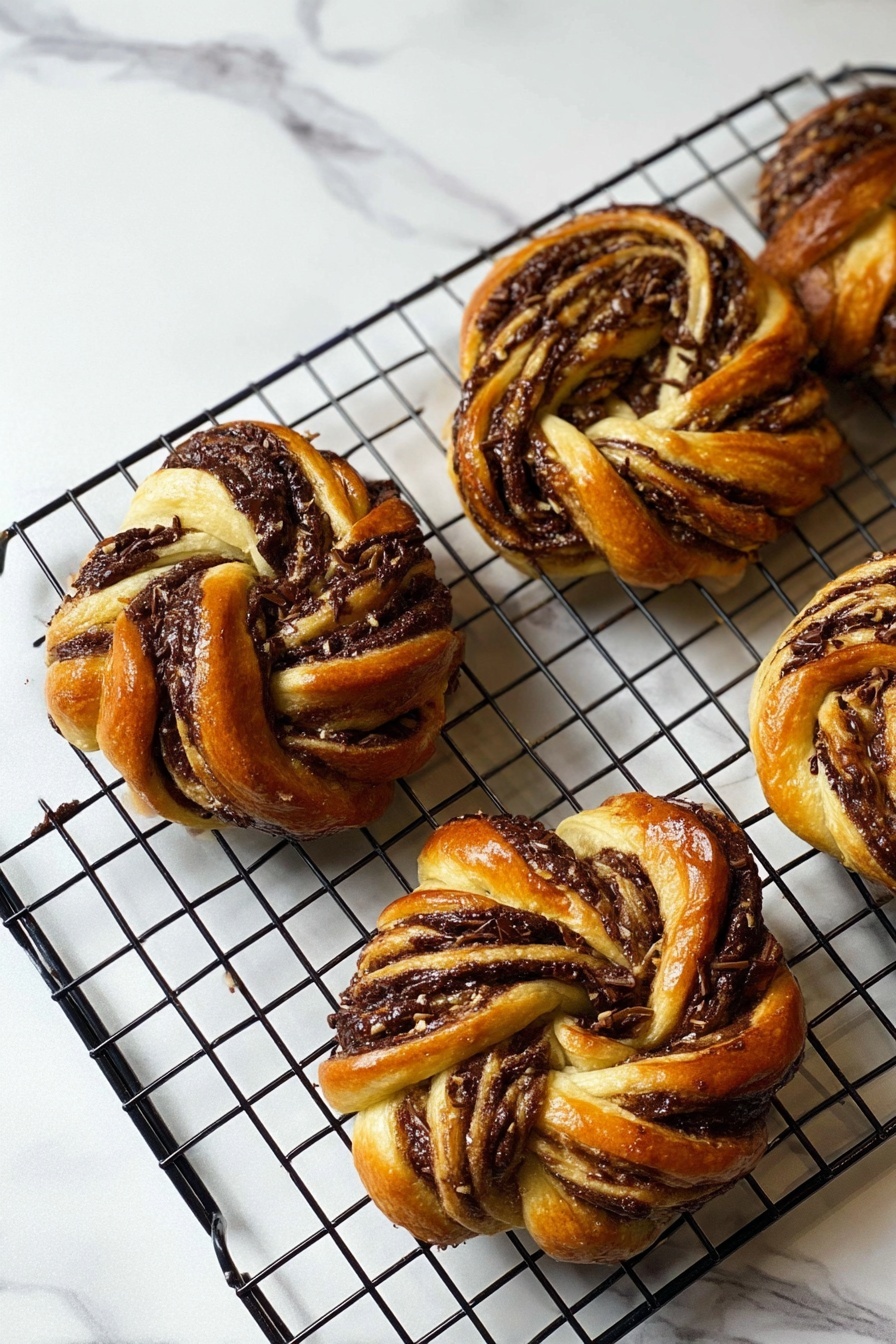
- Visual Appeal: The twisting technique creates those stunning spirals that make these buns as beautiful as they are tasty.
- Made for Sharing: Yields about 8 buns, perfect for sharing with family, friends, or keeping as your own secret stash!

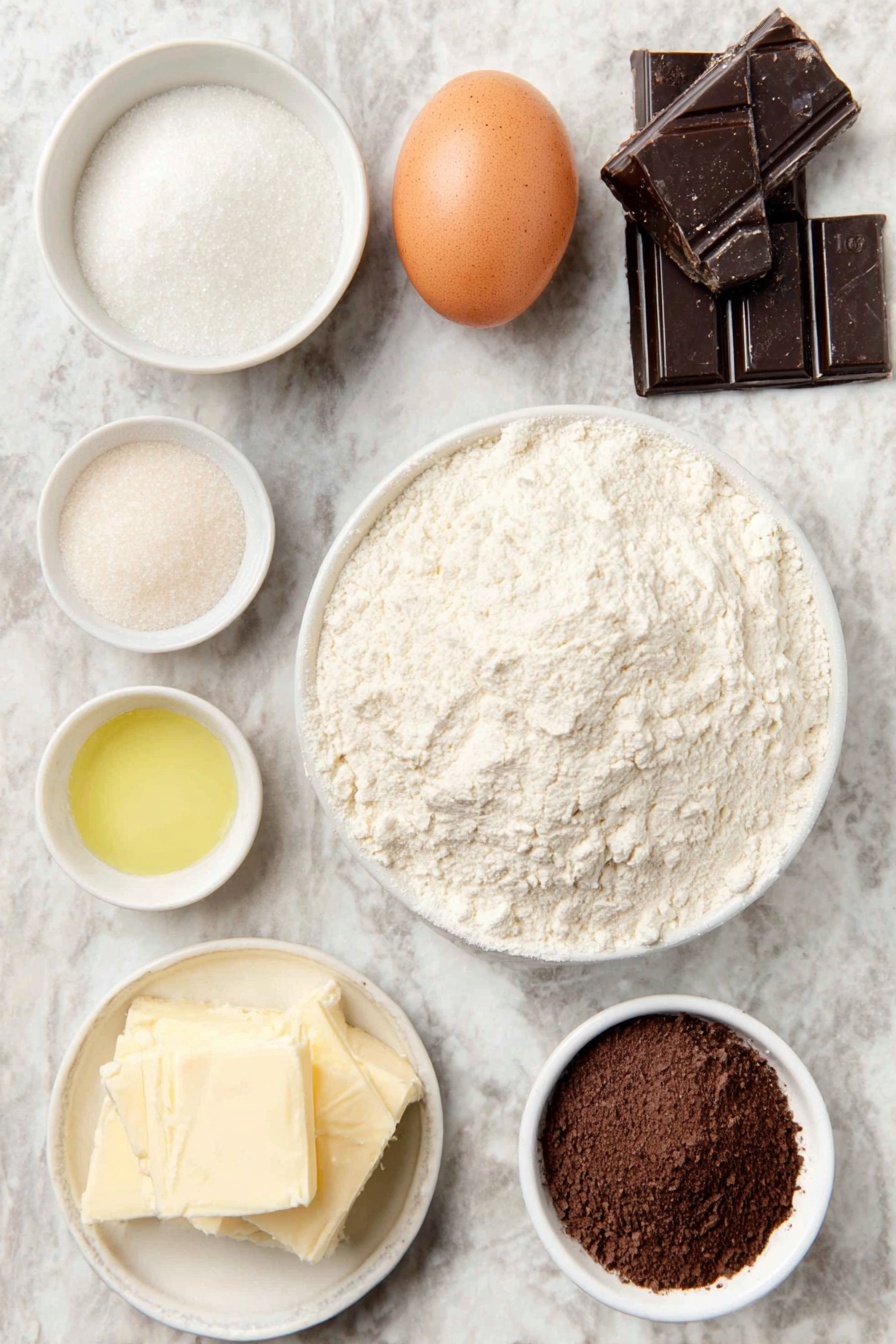
Ingredients & Why They Work
Every ingredient in this Chocolate Swirled Buns Recipe plays a special role, blending perfectly for a soft dough and deeply chocolatey filling. Plus, I’ve got some shopping tips that might help you pick the best versions of each.
- Warm milk: Warm but not hot—this wakes up the yeast without killing it.
- Sugar: Feeds the yeast and adds just enough sweetness to balance the cocoa.
- Fresh yeast: Gives a wonderful rise and lightness; if unavailable, active dry yeast works well too.
- Egg: Adds richness and gives the dough structure.
- Melted butter: Provides tenderness and flavor to the dough.
- Flour: The backbone of the dough; I stick with all-purpose for ease and consistency.
- Salt: Enhances flavor and strengthens gluten.
- Bittersweet chocolate: For that deep, robust chocolate flavor, use good-quality chocolate with about 60-70% cacao.
- Butter (for filling): Helps the chocolate filling stay smooth and luscious while baking.
- Cocoa powder: Adds intense chocolate richness without extra moisture.
- Powdered sugar: Sweetens the filling smoothly without grittiness.
- Oil: Keeps the filling silky and spreadable when you roll out the dough.
- Egg (for wash): Gives the buns a glossy, golden finish that makes them look irresistible.
Tweak to Your Taste
I love experimenting with this Chocolate Swirled Buns Recipe, and you can easily make it your own by switching up the fillings or toppings — it’s pretty forgiving and makes for a fun kitchen project.
- Variation: Once, I swapped the cocoa filling for a cinnamon sugar-butter mix and the buns still turned out phenomenal—chocolate is tempting, but cinnamon is a great twist!
- Dietary modifications: Try using plant-based butter and a flax egg if you want a vegan version; don’t forget to check your chocolate for dairy content.
- Seasonal changes: Add orange zest to the filling for a fresh zing, or sprinkle chopped nuts on top before baking for added crunch.
Step-by-Step: How I Make Chocolate Swirled Buns Recipe
Step 1: Activate the yeast with care
I start by warming the milk to roughly body temperature — you want it warm enough to feel cozy but definitely not hot. Stir in the sugar, then add the fresh yeast and watch it bubble up in about 5-10 minutes. This foaming is your yeast waking up, and it’s a good sign the dough will rise beautifully.
Step 2: Mix and knead the dough until silky
After the yeast base is frothy, I whisk in the egg, melted butter, and salt. Then, I add the flour gradually. The dough starts sticky but gets so smooth and soft after kneading—this usually takes me about 10 minutes. If you have a stand mixer, use the dough hook; otherwise, patience and a floured surface will do the trick.
Step 3: Let the dough rise like a pro
Cover the dough with a clean towel or plastic wrap and let it rest in a warm spot for about an hour until it doubles in size. I often place mine near the oven or on top of the fridge. This step is crucial—the dough needs to rise nicely for the buns to be airy and soft.
Step 4: Make the luscious chocolate filling
While the dough is rising, I melt bittersweet chocolate and butter together carefully—microwave in short bursts or over a double boiler works well. Then, I stir in cocoa powder, powdered sugar, and oil until smooth. It’s thick but spreadable, just perfect to coat the dough without dripping everywhere.
Step 5: Shape the buns with loving hands
Next, I divide the dough into two pieces, roll out each into a rectangle, and spread half the filling, leaving a border so it doesn’t ooze out. Then fold the dough, roll gently, and repeat spreading the filling and folding again. I trim any ragged edges but save those scraps to bake as mini buns—it’s zero waste and tastes just as amazing.
Flouring your surface generously here is key; this helped me avoid those pesky holes that can ruin the swirl. Then I roll the dough tightly, slice it into strips about four fingers wide, and make three vertical cuts in the center of each strip—careful not to cut all the way through!
Twist each strip, curl it into a bun, and lay them on parchment-lined trays. Cover and let rest for 35 minutes, while I preheat the oven.
Step 6: Bake to chocolate perfection
Brushing the buns with beaten egg before popping them into a 375°F (190°C) oven gives that gorgeous golden color. Bake for 20-35 minutes, watching to make sure they don’t overbrown. When they come out, the house smells like heaven—let your buns cool slightly, and you’ve got an irresistible treat. Warm is definitely best to really enjoy the chocolatey goodness.
Pro Tips for Making Chocolate Swirled Buns Recipe
- Keep dough warm: When letting the dough rise, the warmth really boosts yeast activity for a better rise.
- Flour generously: Dust your work surface and rolling pin often—sticky dough is the biggest challenge here.
- Don’t over-cut strips: Leave edges intact when slicing your buns to keep the pretty twisted shapes without unraveling.
- Watch your oven time: Ovens vary, so start checking your buns at 20 minutes to avoid burning them.
How to Serve Chocolate Swirled Buns Recipe
Garnishes
I love to dust these buns with a light sprinkle of powdered sugar just before serving — it adds such a delicate touch and makes them look bakery-fresh. Sometimes I drizzle a quick chocolate glaze, but honestly, they’re perfect as-is. Adding a few fresh berries on the side adds a nice pop of color and freshness too.
Side Dishes
Pair these buns with your morning coffee or a creamy latte—trust me, the combo is unbeatable! For brunch, I serve them with a simple fruit salad or even some whipped cream for extra indulgence. They’re also fantastic alongside a scoop of vanilla ice cream for dessert.
Creative Ways to Present
For special occasions, I arrange these chocolate swirled buns in a circle on a large platter, placing some edible flowers or mint leaves around for that wow factor. I’ve also wrapped small buns individually in cute parchment paper tied with twine for gift-giving—it’s such a hit! They brighten up any table and impress guests every time.
Make Ahead and Storage
Storing Leftovers
I store leftover buns in an airtight container at room temperature for up to two days. They stay surprisingly soft and fresh, but honestly, they’re so good you’ll probably finish them before then!
Freezing
These buns freeze beautifully—after baking and cooling completely, I wrap each bun tightly in plastic wrap, then place them in a freezer bag. When I’m ready to eat one, I thaw it overnight in the fridge and then reheat gently.
Reheating
To bring back that fresh-baked warmth, I reheat my buns in the microwave for about 20 seconds or in the oven at 325°F (160°C) for 5-7 minutes. This refreshes the texture and melts the chocolate filling to that irresistible gooeyness.
FAQs
-
Can I use dry yeast instead of fresh yeast in this recipe?
Absolutely! If you don’t have fresh yeast on hand, active dry yeast is a great substitute. Use about half the amount called for fresh yeast (around 12g) and dissolve it in the warm milk with sugar to activate it before proceeding.
-
How do I prevent the dough from sticking while rolling?
Keep your work surface and rolling pin generously floured and dusted throughout rolling. Don’t hesitate to lift the dough occasionally to ensure it’s not sticking. If it feels too sticky, sprinkle a little more flour—but don’t overdo it or your buns might get dense.
-
Can I prepare these buns ahead of time?
Yes! You can prepare the shaped buns, cover them well in the fridge overnight for a slower rise, then bake fresh the next day. Just allow them to come back to room temperature before baking for the best results.
-
What if my chocolate filling seems too thick to spread?
If the filling is stiff, try warming it gently (a few seconds in the microwave) to loosen it up. Adding a teaspoon or two of vegetable oil can also help achieve the perfect spreadable consistency.
Final Thoughts
This Chocolate Swirled Buns Recipe has become one of those feel-good baking projects for me—as much fun to make as it is to eat. It’s a recipe that feels fancy yet approachable, whether you’re making it for a special breakfast, dessert, or just a treat to brighten the week. When you take that first warm bite, with the soft dough and rich chocolate swirl, you’ll know exactly why I’m recommending it like I’m chatting with my favorite baking buddy. Trust me, give it a go—you won’t regret it!
Print
Chocolate Swirled Buns Recipe
- Prep Time: 10 minutes
- Cook Time: 35 minutes
- Total Time: 2 hours
- Yield: 8 servings
- Category: Dessert
- Method: Baking
- Cuisine: European
Description
Swirled Chocolate Buns are soft, fluffy, and packed with rich bittersweet chocolate filling. These buttery buns feature a beautifully twisted design that showcases the luscious chocolate swirls inside. Perfect as a dessert or indulgent snack, they are soft, moist, and full of chocolatey goodness.
Ingredients
For the Dough
- 1 ⅓ cups warm milk (320 ml)
- ⅓ cup sugar (70 g)
- 0.9 oz fresh yeast (25 g)
- 1 large egg, room temperature
- ¼ cup melted butter (60 g)
- 4 ⅓ cups flour (560 g)
- 1 tsp salt (7 g)
For the Filling
- 3.5 oz bittersweet chocolate (100 g)
- ½ cup butter (100 g)
- ¾ cup cocoa powder (75 g)
- ¾ cup powdered sugar (75 g)
- ¼ cup oil (60 ml)
For the Egg Wash
- 1 egg, beaten
Instructions
- Activate the Yeast: In a large bowl, mix the warm milk and sugar. Add the fresh yeast and let it sit for 10 minutes until the mixture becomes frothy, indicating the yeast is active.
- Mix Dough Ingredients: Add the egg, melted butter, and salt to the yeast mixture. Gradually incorporate the flour while mixing to form a soft dough.
- Knead the Dough: Knead the dough on a floured surface until it becomes soft, smooth, and elastic. Cover the dough and let it rise in a warm place for 1 hour or until it doubles in size.
- Prepare the Chocolate Filling: Melt the bittersweet chocolate and butter together in a microwave or over a double boiler. Once melted, remove from heat and stir in cocoa powder, powdered sugar, and oil until the filling is smooth. Set aside to cool slightly.
- Roll the Dough and Add Filling: Divide the dough into two parts. Roll each part into a large rectangle. Spread half of the chocolate filling over one rectangle, leaving a small border along the edges. Fold the dough in half and gently roll it out again.
- Layer and Trim: Spread more chocolate filling on half of the folded dough, then fold it again. Trim any uneven edges to create clean sides, using the trimmed dough to shape smaller buns.
- Flour the Surface: Continuously flour the surface and dough during rolling to prevent sticking or tearing, which can create holes in the dough.
- Cut and Twist: Roll out the dough tightly once more. Cut it into strips about four fingers wide. For each strip, make three vertical cuts in the center, taking care not to cut all the way through to the edges. Twist each strip and roll it into buns.
- Proof the Buns: Place the twisted buns on a baking sheet lined with parchment paper. Cover and let them rise for 35 minutes until slightly puffed.
- Bake: Preheat your oven to 375°F (190°C). Brush the buns with the beaten egg wash. Bake for 35 minutes or until golden brown and cooked through.
- Cool and Serve: Let the buns cool slightly before serving. Enjoy them warm for the ultimate melt-in-your-mouth chocolate experience.
Notes
- Use fresh yeast for best results and to ensure a good rise.
- Keep flouring the dough while rolling to avoid tearing and holes in the buns.
- Trimmed dough scraps can be shaped into smaller buns instead of discarded.
- Let the chocolate filling cool slightly before spreading to prevent melting the dough.
- Egg wash gives the buns a beautiful shiny golden finish.
- Baking time can vary based on your oven; check for golden brown color to ensure doneness.
Nutrition
- Serving Size: 1 bun
- Calories: 320 kcal
- Sugar: 18 g
- Sodium: 150 mg
- Fat: 17 g
- Saturated Fat: 9 g
- Unsaturated Fat: 6 g
- Trans Fat: 0 g
- Carbohydrates: 36 g
- Fiber: 3 g
- Protein: 5 g
- Cholesterol: 55 mg