
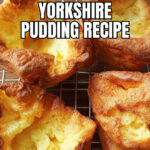
Classic Yorkshire Pudding Recipe
If you’ve ever wondered how to nail that perfect puff and golden crunch every time, you’re in for a treat. This Classic Yorkshire Pudding Recipe is my go-to for Sunday roasts, and honestly, it’s easier than you think! From a crisp exterior that practically cracks when you break into it, to a soft, airy inside, these puddings will elevate your meal instantly. Trust me, once you make them this way, you’ll never go back to soggy, flat attempts again.
Why This Recipe Works
- Rested Batter: Allowing the batter to rest overnight develops gluten and improves texture for those iconic rises.
- Super Hot Fat: Preheating the fat until it’s smoking hot ensures the puddings puff up beautifully and crisp up perfectly.
- Simple Ingredients: Using basic pantry items means it’s accessible yet yields gourmet results every time.
- Versatile Cookware: Whether you have muffin tins, cast iron skillets, or popover pans, this recipe adapts well to your kitchen tools.

Ingredients & Why They Work
This Classic Yorkshire Pudding Recipe calls for a handful of simple ingredients that come together for a real crowd-pleaser. Each one plays a key role—whether it’s the richness of the eggs or the crispy magic from the super hot fat.
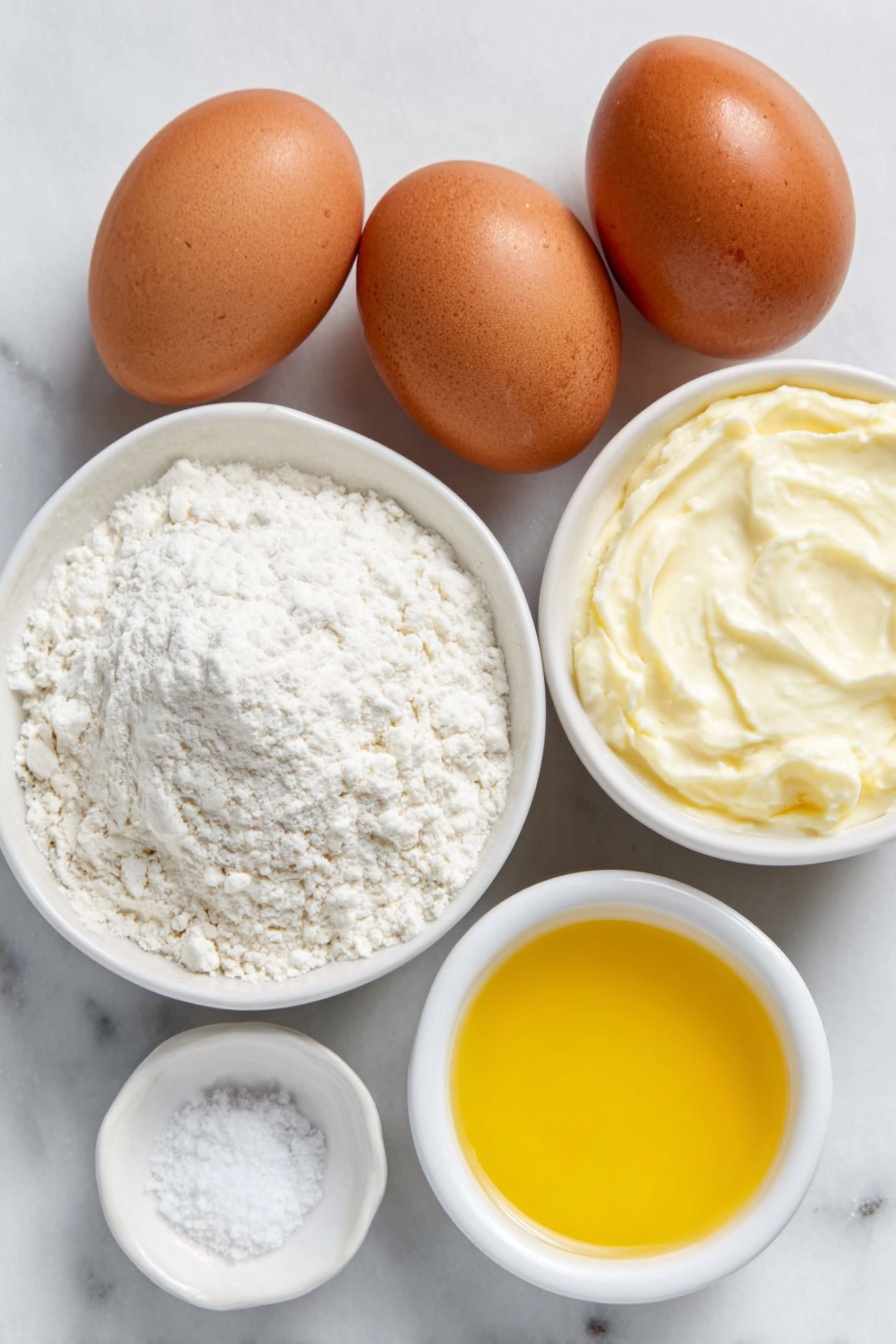
- Eggs: They provide structure and richness, helping the puddings rise like little clouds.
- All-purpose flour: The backbone of your batter; its gluten development is what gives that airy texture once rested.
- Whole milk: Adds creaminess and moisture — full-fat milk really makes a difference!
- Water: A splash keeps the batter light, especially if your milk is richer or if you want slightly thinner consistency.
- Kosher salt: Balances flavor perfectly without overpowering the subtle taste.
- Beef drippings (or alternative fat): The secret to authentic flavor and that irresistible crispy crust—vegetable oil works, but beef drippings add character.
Tweak to Your Taste
One of the joys of a Classic Yorkshire Pudding Recipe is how versatile it is. While I love sticking close to tradition, sometimes I tweak things based on what I have on hand or to suit different meals. Don’t be afraid to experiment—you might discover a new favorite way to enjoy them.
- Variation: I once swapped the beef drippings for duck fat, and it gave an incredible depth of flavor—organic or grass-fed fats really up the game.
- Dairy-free: If you’re avoiding dairy, try plant-based milks like oat or almond, and skip the water; results will differ but still tasty.
- Mini Puddings: For parties, I use mini muffin tins to make bite-size yorkshires—perfect finger food!
Step-by-Step: How I Make Classic Yorkshire Pudding Recipe
Step 1: Whisk Up the Batter and Rest
Start by whisking together eggs, flour, milk, water, and salt into a smooth, lump-free batter. I like to use a hand whisk—it’s soothing, and you can feel when the batter is just right. Once combined, let it rest at room temperature for at least 30 minutes. If you have the time, pop it in the fridge overnight; this resting period is what really transforms your puddings, making them lighter and more puffed up.
Step 2: Get Your Oven and Fat Smoking Hot
Adjust the oven rack to the center and crank up the heat to 450°F (230°C). Here’s the key trick: divide your beef drippings or chosen fat evenly in your pans, then heat them in the oven until the fat is literally smoking. It can take about 10 minutes, so set a timer! This hot fat hit is the secret sauce for the best Yorkshire puddings.
Step 3: Pour Batter and Bake Immediately
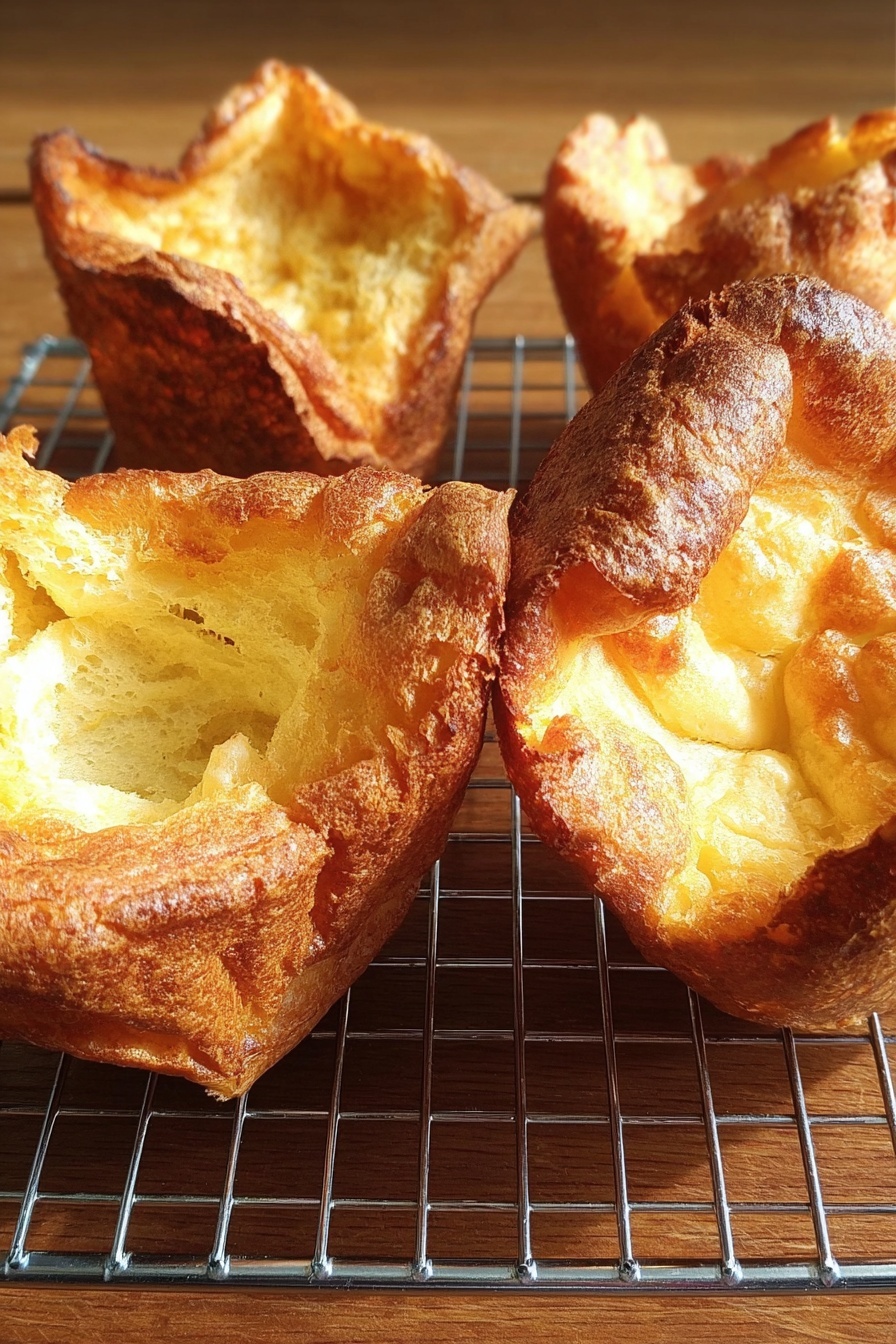
When your fat’s ready, carefully remove the pans (hot, so watch your fingers!) and pour the batter into each cup or well—fill each between half and three quarters full. Then, back into the oven right away. Don’t open that oven door! You’ll want to bake until they’ve puffed impressively (usually about 15-25 minutes depending on size), turn deep brown, feel crisp, and sound hollow if you tap them gently.
Step 4: Serve or Store
Yorkshire puddings are best enjoyed right after baking while they’re still puffed and crisp. If you do have leftovers, I’ve got tips on that below. But honestly, they don’t usually last long around here!
Pro Tips for Making Classic Yorkshire Pudding Recipe
- Room Temperature Ingredients: Using eggs and milk straight from the fridge can slow the rising process—let them warm up a bit before mixing.
- Don’t Peek! Keep that oven door closed during baking to keep the heat steady and maximize the rise.
- Use Cast Iron or Oven-Safe Pans: I find cast iron holds heat better, which helps the batter puff evenly and crisp up beautifully.
- Rest the Batter Properly: Skipping the rest leads to flatter puddings; patience here is key.
How to Serve Classic Yorkshire Pudding Recipe
Garnishes
While Yorkshire puddings can certainly stand on their own, I love adding a little freshly chopped parsley for color and a minor herb-y freshness. It doesn’t need much more—after all, the magic is in the crispiness and the hint of salty beef flavor. For a twist, you could drizzle a bit of gravy or sprinkle some cracked black pepper over the top just before serving.
Side Dishes
Yorkshire puddings shine most next to a hearty roast beef, a rich onion gravy, and some buttery roasted potatoes. But I’ve also paired them with roast chicken and seasonal veggies for a lighter feast. If you want a little indulgence, try them alongside mashed potatoes and steamed greens for a classic British vibe.
Creative Ways to Present
For holiday gatherings, I like to fill mini Yorkshire puddings with a savory whipped horseradish cream or a dollop of rare roast beef and horseradish sauce—turning them into bite-sized canapés. Alternatively, serve large popover-sized puddings with a side ramekin of rich beef gravy to dunk or pour over—everyone loves that rustic feel.
Make Ahead and Storage
Storing Leftovers
If you have any Yorkshire puddings left (which is rare for me), store them in an airtight container at room temperature for up to one day. Avoid the fridge as it tends to make them soggy. I usually let mine cool completely before storing to preserve crispness.
Freezing
Yorkshire puddings freeze surprisingly well. Just make sure they are fully cooled, then pop them in a freezer-safe zip-lock bag or airtight container. I freeze mine flat so they stack easily and take up less space. They keep great for up to 3 months.
Reheating
To reheat, I preheat the oven to around 350°F (175°C) and place the puddings on a baking sheet for about 5-7 minutes until hot and crisp again. Avoid microwaving if you want to keep that lovely texture—microwaves make them chewy and limp.
FAQs
-
Can I make Yorkshire pudding batter in advance?
Absolutely! In fact, resting the batter overnight in the fridge improves the texture significantly, giving you a better rise and crisper outside. Just bring the batter back to room temperature before baking for best results.
-
What’s the best fat to use for classic Yorkshire puddings?
Beef drippings are traditional and impart a rich flavor, but vegetable oil, lard, or even duck fat can work well. The key is to heat the fat until it’s smoking hot before adding batter to ensure maximum puffiness and crispness.
-
Why didn’t my Yorkshire puddings rise?
Common reasons include not resting the batter long enough, fat not hot enough, opening the oven door during baking, or cold ingredients. Following the method carefully, especially the resting and heating steps, will help you achieve great results.
-
Can I make Yorkshire puddings without eggs?
Eggs are crucial for structure and rise in Yorkshire puddings. While you can try egg substitutes, they won’t rise and crisp up in the same way, so for authentic results, it’s best to stick with eggs.
Final Thoughts
This Classic Yorkshire Pudding Recipe is a little slice of British comfort that never fails to impress. I’ve shared it over many Sunday dinners, and it always draws compliments—even from skeptical first-timers. It’s simple, satisfying, and utterly delicious once you get the technique down. So go on, give it a whirl. I promise these Yorkshire puddings will become a cherished tradition in your kitchen too.
Print
Classic Yorkshire Pudding Recipe
- Prep Time: 5 minutes
- Cook Time: 30 minutes
- Total Time: 1 hour 5 minutes
- Yield: 8 Yorkshire puddings
- Category: Side Dish
- Method: Baking
- Cuisine: British
- Diet: Vegetarian
Description
This classic Yorkshire Pudding recipe produces light, airy, and perfectly crisp puddings ideal to accompany any roast dinner. The batter benefits from resting overnight, resulting in a beautiful rise and golden brown finish. Whether baked in traditional pans or muffin tins, these puddings quadruple in size and develop a hollow, crisp texture that’s irresistible.
Ingredients
Yorkshire Pudding Batter
- 4 large eggs (200 g; 7 ounces)
- 150 g all-purpose flour (5.25 ounces; about 1 cup plus 2 teaspoons)
- 175 g whole milk (6 ounces; 3/4 cup)
- 25 g water (0.85 ounces; 1 tablespoon plus 2 teaspoons)
- 2 g kosher salt (about 1/2 teaspoon)
For Cooking
- 100 ml beef drippings, lard, shortening, or vegetable oil (about 1/2 cup)
Instructions
- Prepare the Batter: In a medium bowl, whisk together the eggs, all-purpose flour, whole milk, water, and kosher salt until you have a smooth, lump-free batter. Let the batter rest at room temperature for at least 30 minutes to allow gluten to relax and improve texture. For best results, cover and refrigerate the batter overnight up to 3 days, then bring it to room temperature before baking.
- Preheat the Oven and Pans: Position an oven rack in the center and preheat your oven to 450°F (230°C). Evenly distribute the beef drippings or chosen fat among two 8-inch cast iron skillets, two 6-well popover tins, one 12-well standard muffin tin, or one 24-well mini muffin tin. Place these pans in the oven and heat until the fat is smoking hot, about 10 minutes.
- Fill and Bake: Carefully remove the hot pans and place them on a heat-proof surface. Pour the rested batter evenly into each well – filling between half to three quarters full for muffin tins or about a quarter full for larger skillets. Quickly return the pans to the oven and bake until the puddings have quadrupled in volume, are deep brown, crisp to the touch, and sound hollow when tapped. Smaller puddings bake for about 15 minutes; larger popover or skillet-sized puddings take about 25 minutes.
- Serve or Store: Serve Yorkshire puddings immediately for best texture. To store, let them cool completely, then freeze in a zipper-lock bag for up to 3 months. Reheat in a hot toaster oven before serving to restore crispness.
Notes
- Resting the batter for at least one night yields the best rise and texture, but the puddings can be made and baked immediately if necessary.
- The batter quantity does not divide evenly into 6-well popover pans; scale the recipe by 50% to make a full 12 popovers instead of 8.
- If using skim or low-fat milk, omit the water and increase milk to 200 g (7 ounces; just under 1 cup) for proper consistency.
- Ensure the fat is very hot (smoking) before adding batter to achieve maximum rise.
- Use cast iron or oven-safe non-stick pans to prevent sticking and promote even cooking.
Nutrition
- Serving Size: 1 pudding
- Calories: 160 kcal
- Sugar: 1 g
- Sodium: 180 mg
- Fat: 9 g
- Saturated Fat: 3 g
- Unsaturated Fat: 5 g
- Trans Fat: 0 g
- Carbohydrates: 14 g
- Fiber: 1 g
- Protein: 5 g
- Cholesterol: 100 mg
