Easy Banana Pudding Recipe
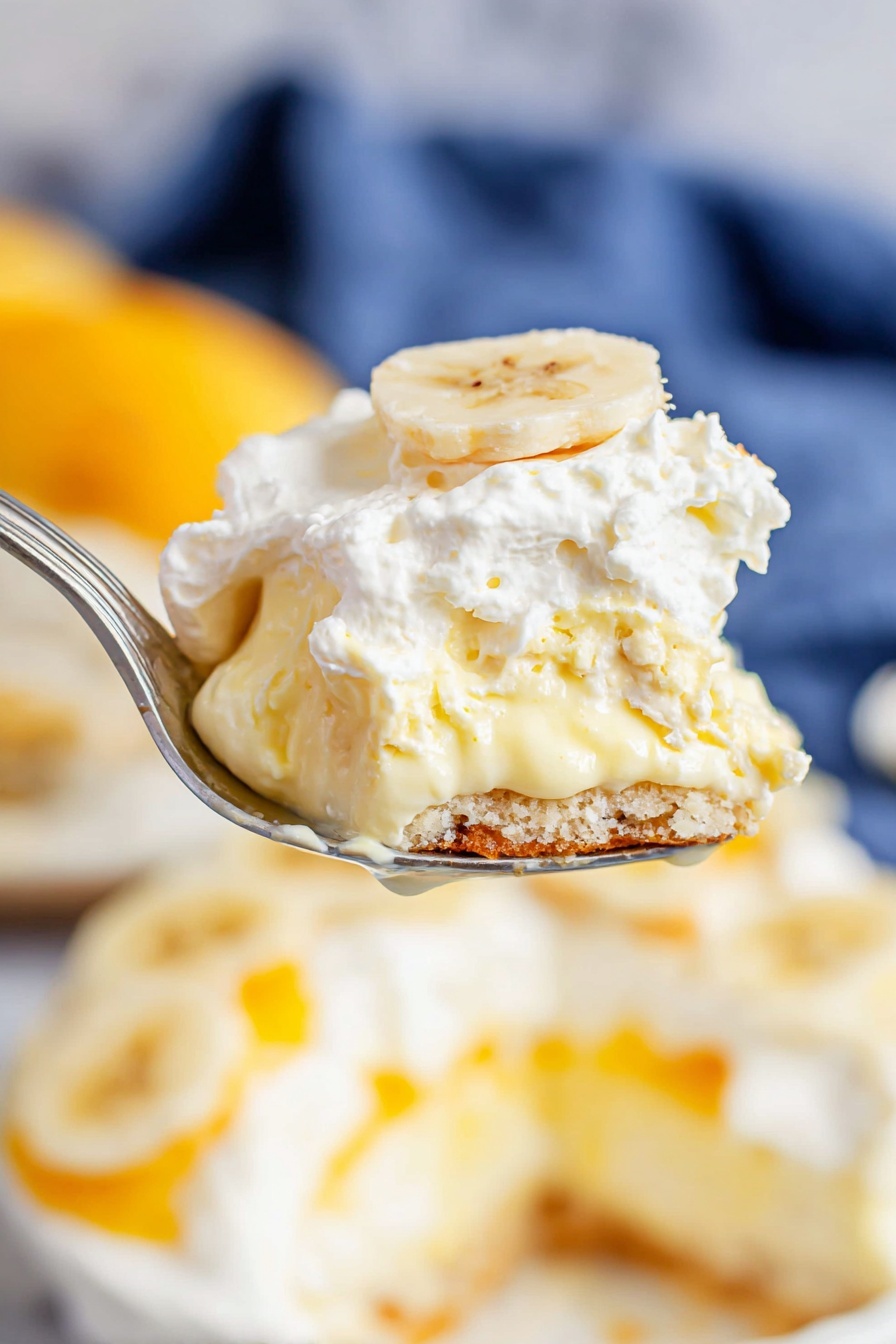
If you’ve ever craved a dessert that feels like a warm hug from your childhood, then this Easy Banana Pudding Recipe is exactly what you need to whip up. Trust me, it’s a fan-freaking-tastic blend of creamy, dreamy pudding, fresh bananas, and those iconic Nilla wafers all layered to perfection. It’s easy enough for a weeknight treat yet impressive enough to bring to your next potluck. Ready to dive in? Let me walk you through it step-by-step.
Why This Recipe Works
- Creamy Texture: The cream cheese and whipped topping blend for a luscious, silky pudding base.
- Sweetness Balance: Sweetened condensed milk adds just the right amount of sweetness without overpowering the fresh bananas.
- Perfect Layers: The crisp Nilla wafers soften just enough after chilling, adding delightful texture contrasts.
- Simple Ingredients: Using accessible pantry staples keeps this dessert super easy and quick to make.

Ingredients & Why They Work
This Easy Banana Pudding Recipe uses a smart lineup of ingredients that create balance and magic together—each one pulling its weight to build flavor, creaminess, and texture effortlessly. Some shopping tips? Grab your cream cheese softened, and don’t skimp on the instant vanilla pudding mix—you want that instant kind, not the cook & serve version.
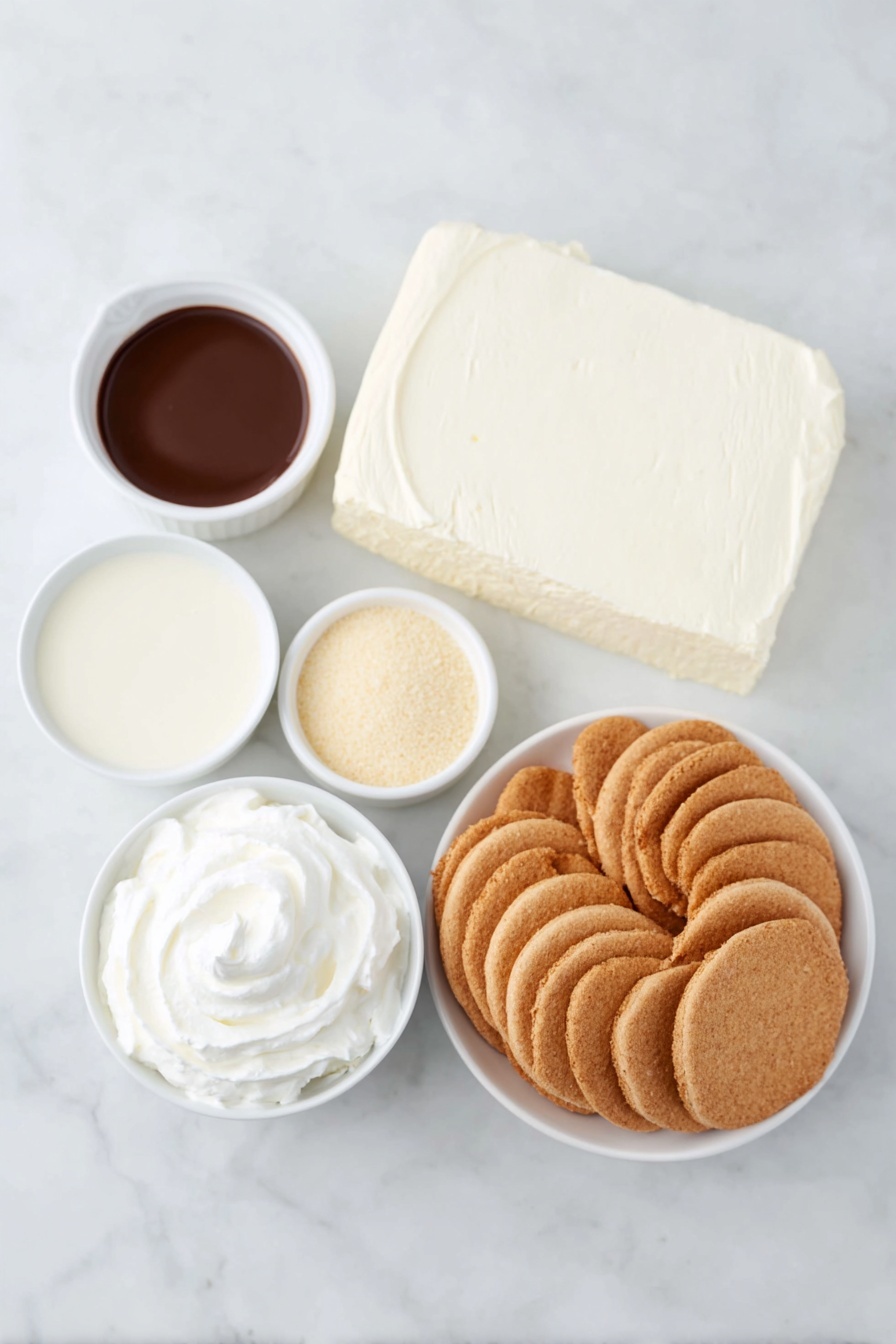
- Cream Cheese: Softened to room temp so it blends smoothly without lumps.
- Sweetened Condensed Milk: This adds rich sweetness and creaminess; evaporated milk just won’t give the same result.
- Instant Vanilla Pudding Mix: Make sure it’s instant, not the cook-and-serve kind, for thickening without fuss.
- Milk (2% or higher): Provides the perfect liquid base for the pudding to set up just right.
- Vanilla Extract: A splash enhances the flavor, but you can swap for banana extract for a different twist.
- Whipped Topping (Cool Whip): Adds lightness and fluffiness to the pudding mixture.
- Nilla Wafers: Classic choice; they soften perfectly to add subtle crunch and sweetness.
- Bananas: Fresh and sliced—5 to 7 depending on size; this is where the fresh flavor shines.
Tweak to Your Taste
You know, what I love most about this Easy Banana Pudding Recipe is how simple it is to make your own. Whether you prefer it sweeter, with a little tang, or less creamy, this recipe is a great base to experiment with.
- Banana Cream Upgrade: I sometimes swap in banana cream pudding mix for vanilla, which amps up the banana flavor beautifully.
- Extra Crunch: Adding chopped pecans or walnuts between layers gives a nice surprise texture.
- Healthier Swap: Try a Greek yogurt version by replacing the whipped topping with plain yogurt for a tangier, lighter pudding.
- Make It Boozy: A splash of rum or bourbon in the pudding mix adds sophistication for adult gatherings—trust me, it’s delicious.
Step-by-Step: How I Make Easy Banana Pudding Recipe
Step 1: Beat the Cream Cheese Until Fluffy
Start by making sure your cream cheese is soft at room temperature—that’s key. Using a hand or stand mixer, whip it on medium speed until it’s smooth and fluffy. I personally find this step crucial because any lumps here can mess with your pudding’s texture. If you notice lumps, just give it a few more minutes, scraping down the bowl as needed.
Step 2: Mix in the Sweetness and Flavor
Add the entire can of sweetened condensed milk, the instant vanilla pudding mix, milk, and vanilla extract right into your cream cheese base. Blend everything well until it’s beautifully combined and smooth—you’ll notice it thickening slightly as you mix. Be patient here, since everything needs to meld together perfectly.
Step 3: Fold in Half the Whipped Topping
Next, gently fold in half of your thawed whipped topping. This keeps the pudding light and airy without deflating it. Folding instead of mixing vigorously is a small tip I learned that really makes a difference in the overall texture.
Step 4: Build Your Layers
Grab a large trifle bowl, glass bowl, or a 9×13-inch baking dish. Start with a layer of about one-third of the Nilla wafers—lay them in a single layer covering the bottom. Then, add a single layer of sliced bananas over the wafers. Pour one-third of the pudding mixture on top, enough to cover the bananas completely. Repeat these layers two more times, finishing with a layer of the remaining whipped topping on top for decoration and extra creaminess.
Step 5: Refrigerate to Chill and Set
Cover your masterpiece with plastic wrap and refrigerate for at least 1-2 hours. This is the secret window where the pudding thickens just right and those wafers soften up nicely, soaking in all the vanilla-banana goodness. If you can hold off longer, even better—the flavors get richer with time.
Pro Tips for Making Easy Banana Pudding Recipe
- Room Temperature Cream Cheese: Never rush this step—allow the cream cheese to soften fully for that smooth, lump-free pudding.
- Choose Instant Pudding Wisely: Double-check the label to ensure you get instant vanilla pudding mix; cook & serve types won’t thicken properly.
- Slice Bananas Just Before Layering: To prevent browning, slice your bananas right before you assemble the dessert.
- Chilling is Key: Don’t skip the chilling time—this step lets the flavors marry and wafers soften for that classic texture.
How to Serve Easy Banana Pudding Recipe
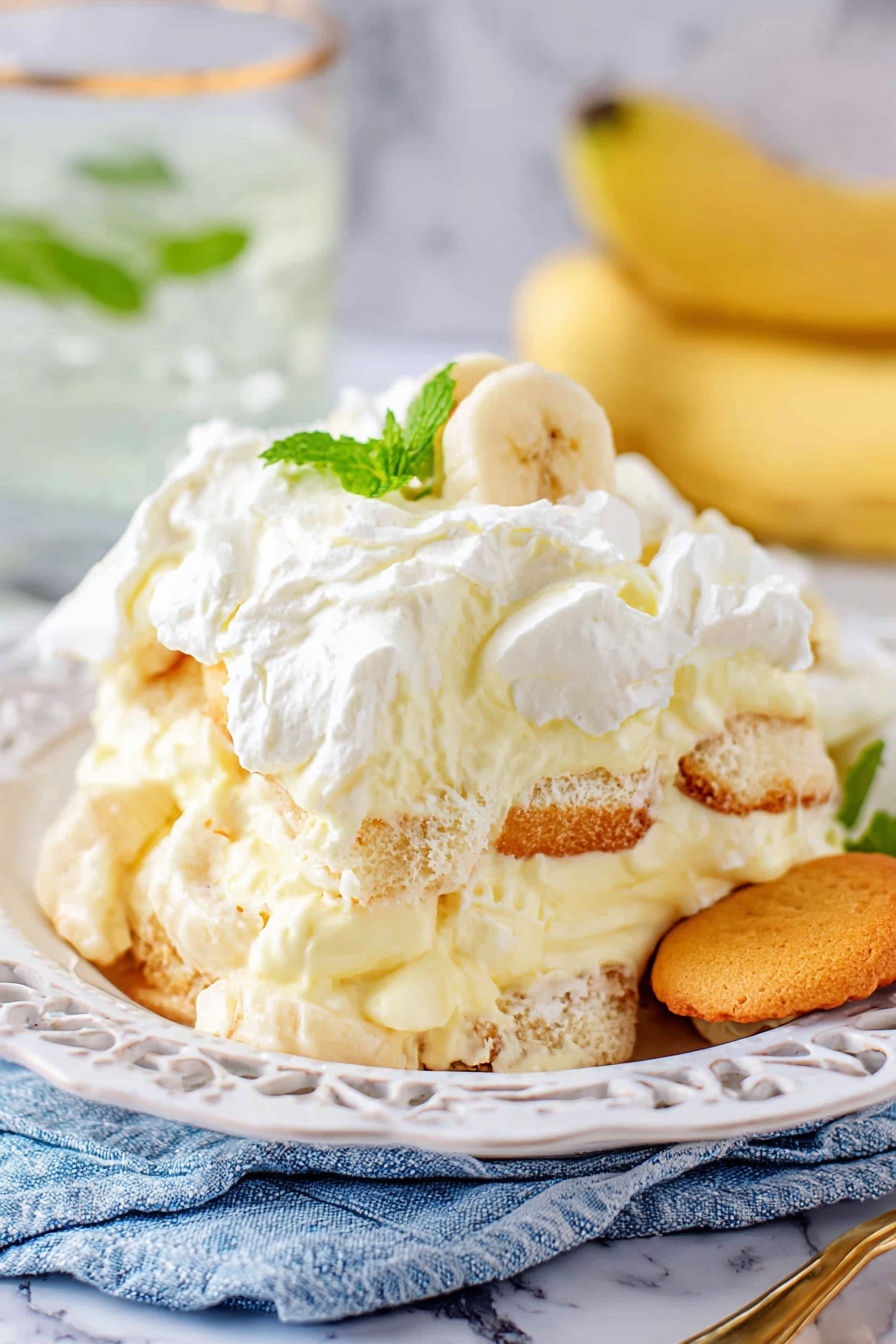
Garnishes
I love topping finished banana pudding with a few extra Nilla wafers and maybe a sprinkle of crushed toasted pecans for a nutty crunch. Sometimes, I just grab a few ripe banana slices to place on top right before serving for that fresh look. It’s simple, but those little touches really elevate the whole experience.
Side Dishes
Since banana pudding is a classic Southern dessert, I often serve it after comfort food meals—think fried chicken or barbecue. It also makes a lovely sweet finish for a casual family dinner or weekend cookout. For lighter pairings, fresh fruit salad or a crisp green salad work beautifully.
Creative Ways to Present
For parties, I’ve tried individual mini mason jar parfaits layered with banana pudding, wafers, and bananas—super cute and perfect for grab-and-go serving. Another fun idea is swirling in a bit of caramel sauce between layers for an indulgent twist that always surprises guests in a good way.
Make Ahead and Storage
Storing Leftovers
Leftover banana pudding? Cover it tightly with plastic wrap or transfer to an airtight container and refrigerate. It keeps well for about 2-3 days. Just a heads up—the wafers will continue to soften the longer it’s stored, so the texture evolves from crunchy to more cake-like. I don’t mind that at all—it feels like a new dessert each day.
Freezing
I generally don’t freeze banana pudding because the fresh bananas and whipped topping can get a bit watery or mushy after thawing. But if you want to freeze it, I recommend freezing the pudding mixture separately without the bananas and wafers, then assembling just before serving.
Reheating
Since banana pudding is best served chilled, reheating isn’t something I usually do. But if you want it a little less cold, just let it sit on the counter for 15-20 minutes before serving. This softens the pudding without affecting its taste or texture.
FAQs
-
Can I use regular pudding mix instead of instant?
It’s really important to use instant pudding mix, not the cook-and-serve type for this Easy Banana Pudding Recipe. Instant pudding thickens just by mixing with cold milk, which helps the dessert set quickly. Cook-and-serve pudding needs to be heated and won’t set properly in this no-bake recipe.
-
How do I keep my bananas from turning brown?
Slicing bananas right before layering minimizes browning. Another trick: lightly brush the banana slices with lemon juice to slow oxidation. This keeps them fresh-looking and tasty inside your pudding.
-
Can I make this banana pudding ahead of time?
Absolutely! In fact, it tastes even better after chilling for a few hours or overnight. Just cover tightly and store in the fridge. The flavors meld and wafers soften perfectly during this resting time.
-
What can I substitute for Cool Whip?
You can use homemade whipped cream or any store-bought whipped topping. If you prefer something lighter, try folding in Greek yogurt but note it will change the flavor and texture slightly.
-
How many servings does this recipe make?
This Easy Banana Pudding recipe typically serves about 12 people, making it perfect for gatherings or family dinners.
Final Thoughts
This Easy Banana Pudding Recipe has become a go-to in my kitchen because it’s as forgiving as it is delicious. The layers of soft bananas, creamy pudding, and wafer crunch bring back nostalgic memories while feeling fresh and homemade every time. I hope when you try it, it becomes your little ritual too—a simple dessert that’s easy to love and share with the people you care about.
Print
Easy Banana Pudding Recipe
- Prep Time: 25 minutes
- Cook Time: 0 minutes
- Total Time: 2 hours 25 minutes
- Yield: 12 servings
- Category: Dessert
- Method: No-Cook
- Cuisine: American
- Diet: Vegetarian
Description
A creamy, layered banana pudding dessert featuring smooth cream cheese, instant vanilla pudding, sliced bananas, and crunchy Nilla wafers, finished with whipped topping for a perfect blend of textures and flavors.
Ingredients
Pudding Mixture
- 8 ounce block cream cheese, softened to room temperature
- 14 ounce can sweetened condensed milk
- 5 ounce package INSTANT vanilla pudding mix
- 3 cups milk (2% or higher)
- 2 teaspoons vanilla extract
- 4 ounces whipped topping (COOL WHIP), thawed
Assembly
- 11 ounce box Nilla wafers
- 5-7 bananas, peeled and sliced
- 4 ounces whipped topping (COOL WHIP), thawed (for topping)
Instructions
- Beat cream cheese: In a large bowl, use an electric mixer on medium speed to beat the softened cream cheese until smooth and fluffy, ensuring no lumps remain.
- Add pudding ingredients: Add sweetened condensed milk, instant vanilla pudding mix, milk, and vanilla extract to the bowl. Mix well until all ingredients are fully combined and the mixture is smooth.
- Incorporate whipped topping: Gently fold in half of the whipped topping (about 4 ounces) into the pudding mixture until evenly blended.
- Layer Nilla wafers: Place one-third of the Nilla wafers to form an even layer at the bottom of a trifle dish, large bowl, or 9×13-inch baking dish.
- Layer bananas: Arrange a single layer of the sliced bananas evenly over the wafers.
- Pour pudding mixture: Pour one-third of the pudding mixture over the bananas, making sure to cover them completely.
- Repeat layering: Repeat the layering process two more times with wafers, bananas, and pudding mixture, ending with the pudding layer.
- Add whipped topping: Spread the remaining whipped topping evenly over the final pudding layer to create a smooth top.
- Chill: Cover the dish with plastic wrap and refrigerate for at least 2 hours to allow the pudding to thicken and the wafers to soften.
Notes
- Use INSTANT pudding mix only; do not use Cook and Serve pudding, as it will not set properly.
- Use sweetened condensed milk, not evaporated milk, to ensure sweetness and proper texture.
- You may substitute banana cream pudding flavor for the vanilla pudding, or use banana extract instead of vanilla extract for enhanced banana flavor.
- Ensure the cream cheese is at room temperature before mixing to avoid lumps.
- Adjust the number of bananas between 5 to 7 depending on their size and how much fresh banana you prefer in your pudding.
- Letting the dessert chill for at least 2 hours is important for the best texture and flavor.
Nutrition
- Serving Size: 1 serving
- Calories: 320 kcal
- Sugar: 28 g
- Sodium: 210 mg
- Fat: 14 g
- Saturated Fat: 7 g
- Unsaturated Fat: 5 g
- Trans Fat: 0 g
- Carbohydrates: 42 g
- Fiber: 2 g
- Protein: 5 g
- Cholesterol: 35 mg

