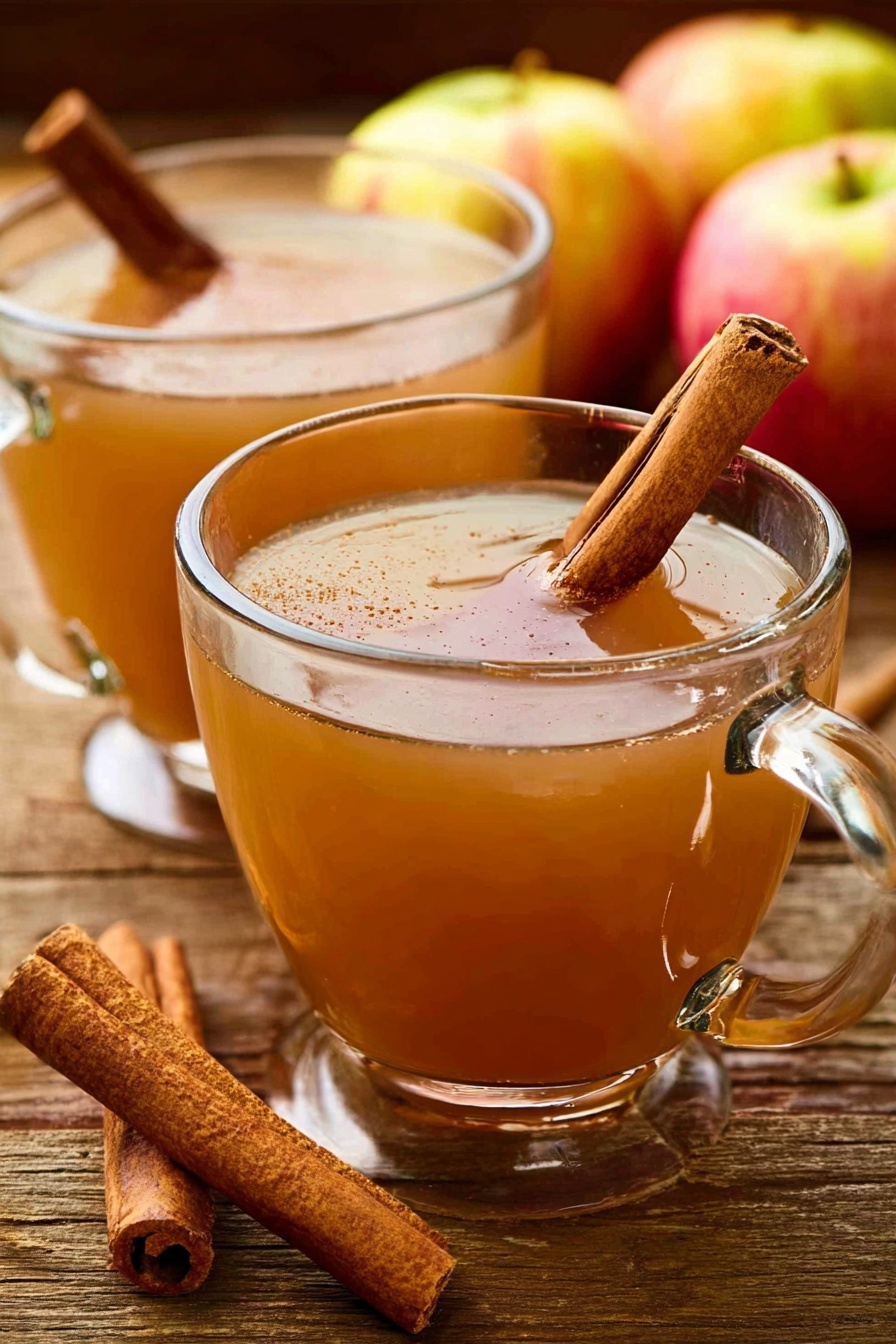
Homemade Apple Cider Recipe
If you love cozy, fall-inspired drinks as much as I do, then this Homemade Apple Cider Recipe is going to be your new favorite. It’s warming, fragrant, and perfectly sweetened – everything you want from a cider but without the fuss of store-bought additives. Trust me, once you make this at home, you’ll never go back to the carton cider again!
Why This Recipe Works
- Simple, Real Ingredients: Using fresh apples and spices means no weird preservatives, which gives you that pure, authentic cider flavor.
- Slow Cooking Method: The long simmer allows the apples and spices to really develop a deep, rich taste you won’t find in instant recipes.
- Flexible & Adaptable: You can tweak the sweetness and spice levels easily to suit your own taste buds perfectly.
- Comfort in Every Sip: This cider brings that nostalgic warmth of fall right to your cup – cozy and comforting, every single time.

Ingredients & Why They Work
Every ingredient in this Homemade Apple Cider Recipe plays a special role to build a perfect balance of flavors. Picking the right apples and spices can make all the difference, so here’s what I use and why.
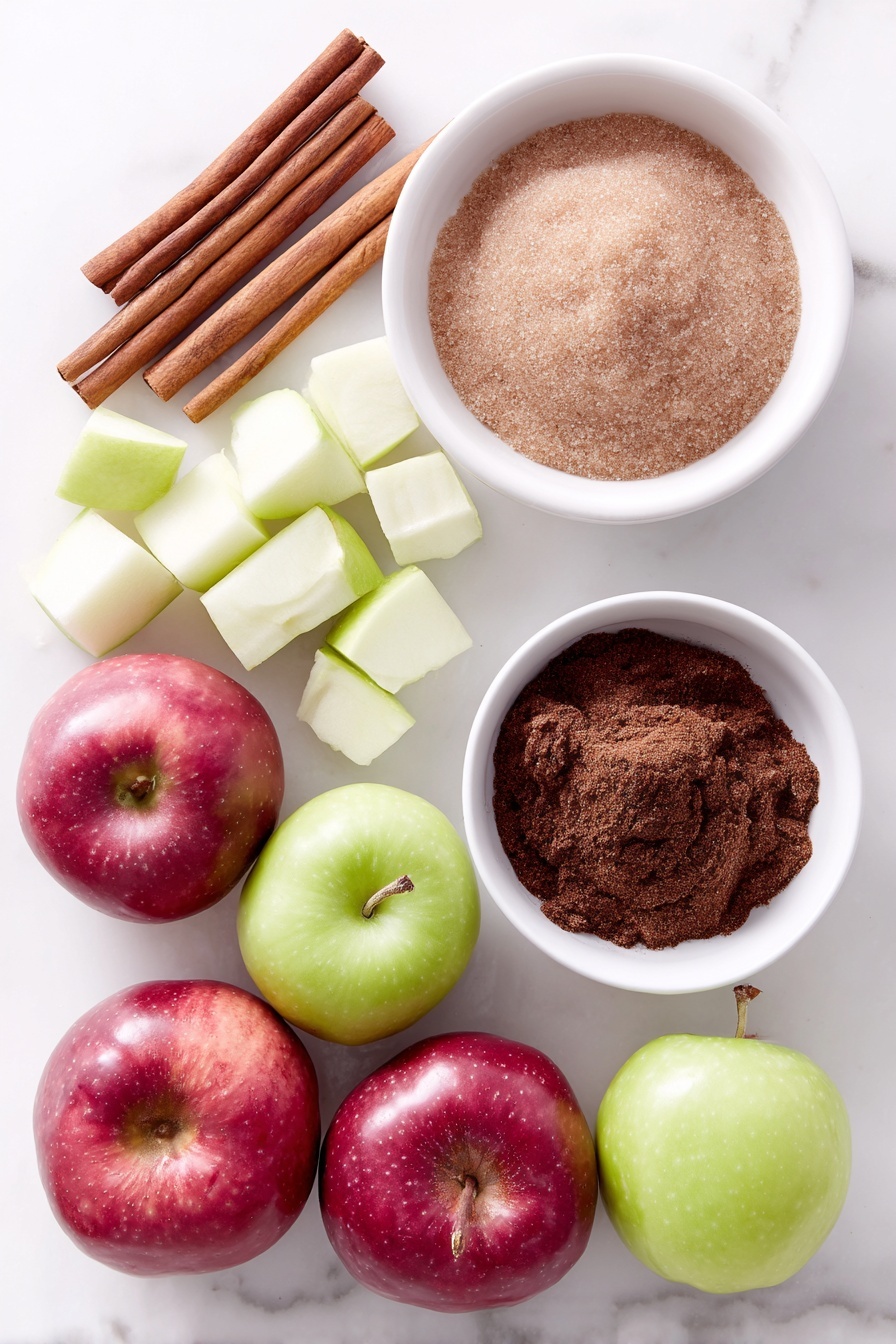
- Apples: I like using a mix of sweet and tart apples to create complexity—think Fuji, Honeycrisp, or Granny Smith.
- Light Brown Sugar: Adds just enough sweetness and a hint of molasses flavor that pairs beautifully with the apples.
- Cinnamon sticks: Fresh cinnamon sticks infuse warm spice notes slowly during simmering – ground cinnamon works if you’re in a pinch!
- Ground Allspice: This gives the cider a little extra warmth and depth, complementing the cinnamon without overpowering it.
Tweak to Your Taste
This is a recipe that’s all about your preferences—whether you want it sweeter, spicier, or even alcohol-infused. I love experimenting with little tweaks, and you’ll enjoy making it your own, too.
- Extra Spice Kick: Once, I added star anise and cloves for a more “holiday” vibe, and it turned into cider heaven.
- Less Sweet: If you prefer a tart cider, cut down the brown sugar, especially if your apple variety is already quite sweet.
- Adult Version: Stir in a splash of bourbon or rum after simmering for a festive morning pick-me-up.
- Vegan Swap: Just double-check your brown sugar is vegan or switch to maple syrup for a different but delicious sweetness.
Step-by-Step: How I Make Homemade Apple Cider Recipe
Step 1: Prep and Submerge the Apples
Start by quartering about 10 medium apples—no need to peel or core them since everything gets strained later. Place them in a large stockpot and pour in enough water to cover the apples by about 2 inches once they’re pushed down. Since they float, gently press them with a spoon to fully submerge.
Step 2: Sweeten and Spice It Up
Stir in ½ cup of packed light brown sugar, 4 cinnamon sticks (or 2 teaspoons ground cinnamon), and a tablespoon of ground allspice. The brown sugar dissolves quickly, lending that lovely caramel taste, while the cinnamon and allspice fill the kitchen with amazing scents.
Step 3: Bring to a Boil and Simmer Slowly
Bring the pot to a boil uncovered and let it bubble away for an hour. This step cooks down the apples and starts breaking them apart. After that, cover the pot, reduce heat to low, and simmer gently for 2 more hours. This slow simmer is where magic happens—you’ll notice the flavors deepen and mingle beautifully.
Step 4: Strain and Savor
Once done, allow the mixture to cool a bit for easier handling. Then strain it through a cheesecloth or fine mesh sieve into a large bowl, gently pressing down the solids to extract every drop of juice. If you want extra clarity, strain it a second time. The leftover pulp can be tossed or composted—no waste here.
Pro Tips for Making Homemade Apple Cider Recipe
- Choose a Mix of Apples: Combining sweet and tart apples gives your cider a rich, balanced flavor profile that feels far more complex than using just one variety.
- Don’t Skip the Simmer: That slow simmer after boiling is what mellows out the acidity and lets the spices fully marry with the apple juices.
- Use Cheesecloth for Straining: It’s worth the extra effort—your cider will be silky smooth without any pulp or grit.
- Watch the Water Level: Keep an eye on your pot so the water doesn’t evaporate too much and burn the cider; add a bit of hot water during simmering if needed.
How to Serve Homemade Apple Cider Recipe

Garnishes
I love garnishing my warm cider with a cinnamon stick and a slice of fresh apple—not only do they look cute, but they keep adding little bursts of spice and apple aroma as you sip. Sometimes I’ll even float a star anise or two for an extra festive touch.
Side Dishes
This cider pairs so well with simple autumn treats like spiced pumpkin muffins or cheddar cheese biscuits. It also makes a great palate cleanser alongside a cozy grilled cheese sandwich or roasted nut mix.
Creative Ways to Present
For holiday parties, I like to serve this cider in clear glass mugs layered with dried apple rings and orange slices in the pot while simmering to add visual charm and citrusy notes. You could also pour it into a punch bowl with floating cranberries for a showstopper.
Make Ahead and Storage
Storing Leftovers
Once cooled, I pour leftover cider into a glass jar or airtight bottle and store it in the fridge. It keeps beautifully for up to a week, though I can rarely keep it that long because it disappears fast!
Freezing
I sometimes freeze cider in ice cube trays—perfect if you want to chill drinks without watering them down or to add flavor to recipes later on. Just thaw in the fridge overnight when ready to use.
Reheating
Reheat gently on the stove or in the microwave—just warm it up enough to enjoy it hot but avoid boiling again, which can dull the delicate spice flavors. Adding a fresh cinnamon stick while reheating can refresh the aroma.
FAQs
-
Can I use any type of apples for the Homemade Apple Cider Recipe?
Absolutely! While a mix of sweet and tart apples creates the best balance, you can use whatever you have on hand. Just know that sweeter apples will make sweeter cider, while tart apples add a nice zing.
-
How long does homemade apple cider last?
Stored properly in the fridge in an airtight container, homemade cider stays fresh for up to 7 days. Always give it a sniff and taste before reheating, just to be safe.
-
Can I make this cider ahead for a party?
Yes! This cider can be made up to 2 days in advance. Just reheat gently before serving. You can also prepare the apple and spice mixture and freeze it, then simmer fresh when needed.
-
Is it okay to use ground cinnamon instead of sticks?
Definitely! Ground cinnamon works fine, just add it with the other spices so it infuses throughout cooking. The flavor will be a bit more intense and less subtle than sticks, so adjust quantity accordingly.
-
What’s the best way to strain the cider?
I always recommend using cheesecloth and a fine-mesh sieve for the smoothest cider. Gently pressing the solids helps you squeeze out more liquid without making it cloudy or gritty.
Final Thoughts
This Homemade Apple Cider Recipe holds a special place in my kitchen and heart—it’s the kind of drink that warms you up from the inside out and fills your home with that unmistakable autumn aroma. Whether you’re sipping solo on a crisp morning or sharing with friends around a fire, I can’t recommend making it enough. Give it a try, and I’m pretty sure it’ll become one of your go-to cozy comforts too.
Print
Homemade Apple Cider Recipe
- Prep Time: 15 minutes
- Cook Time: 3 hours
- Total Time: 3 hours 15 minutes
- Yield: 8 servings
- Category: Beverage
- Method: Stovetop
- Cuisine: American
- Diet: Vegetarian
Description
This homemade apple cider recipe is a cozy and delicious drink made by simmering fresh apples with warm spices like cinnamon and allspice. Perfect for fall gatherings or a warming beverage on a chilly day, this cider is naturally sweetened with brown sugar and can be enjoyed hot or cold.
Ingredients
Apple Cider Ingredients
- 10 medium apples, quartered
- ½ cup (100 g) light brown sugar, packed
- 4 sticks cinnamon, or 2 teaspoons ground cinnamon
- 1 tablespoon ground allspice
Instructions
- Prepare the Apples: Place the quartered apples in a large stockpot and add enough water to cover them by 2 inches when submerged by pushing down, as the apples will float.
- Add Sweeteners and Spices: Stir in the packed light brown sugar, cinnamon sticks (or ground cinnamon), and ground allspice into the pot with the apples.
- Boil the Mixture: Bring the mixture to a boil uncovered and let it boil for 1 hour to extract flavors from the apples and spices.
- Simmer the Cider: After boiling, cover the pot, reduce the heat, and let it simmer gently for 2 hours to deepen the flavors.
- Strain the Cider: Let the mixture cool slightly, then strain it through a cheesecloth into a bowl, pressing down gently on the solids to extract all the liquid. Discard the solids and strain the liquid once more through the cheesecloth or a fine-mesh sieve for a clear cider.
- Serve: Serve the cider warm or chill it for later enjoyment. Optionally, garnish with cinnamon sticks or apple slices if desired.
Notes
- Using a variety of apples can add depth of flavor to the cider; a mix of sweet and tart apples works best.
- If you prefer a spicier cider, increase the cinnamon or add a few cloves or nutmeg.
- For a stronger cider, simmer longer or mash some of the apples during cooking to release more juice.
- Store leftover cider in the refrigerator for up to 5 days; reheat gently before serving.
- To make this cider vegan and vegetarian friendly, ensure brown sugar is unrefined and not bleached with bone char.
Nutrition
- Serving Size: 1 cup
- Calories: 120 kcal
- Sugar: 25 g
- Sodium: 5 mg
- Fat: 0.2 g
- Saturated Fat: 0 g
- Unsaturated Fat: 0.2 g
- Trans Fat: 0 g
- Carbohydrates: 29 g
- Fiber: 2 g
- Protein: 0.3 g
- Cholesterol: 0 mg


