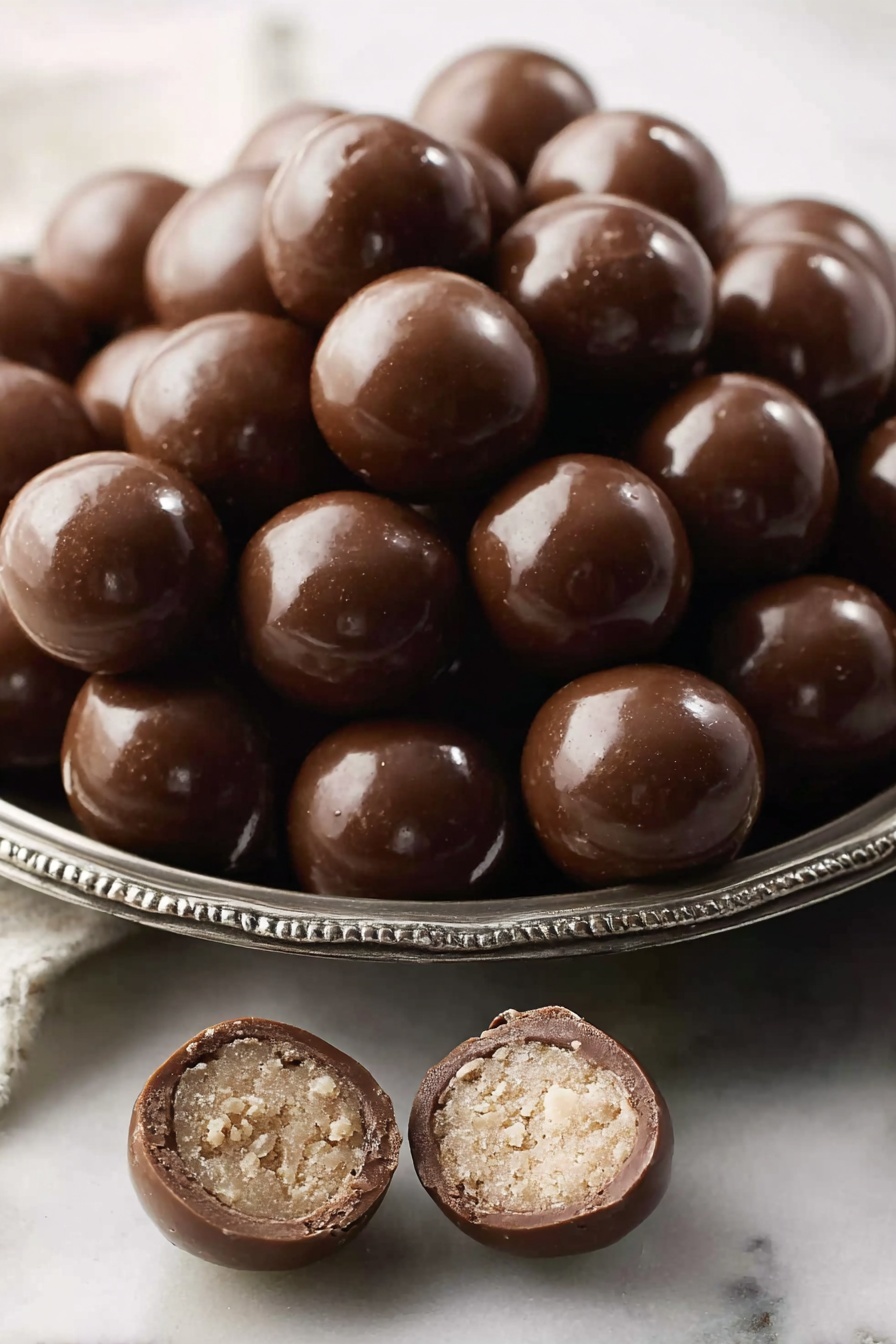
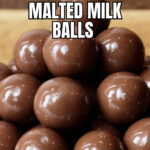
Homemade Malted Milk Balls Recipe
If you’re anything like me and have a soft spot for that nostalgic crunch and malted flavor, this Homemade Malted Milk Balls Recipe is going to be your new favorite treat to make at home. Seriously, they’re fun to make, totally addictive, and taste way better than anything store-bought. I’m excited to share this recipe with you because once you try it, you’ll see just how simple it is to whip up your own batch of these malted delights that are perfect for snacking, gifting, or dessert.
Why This Recipe Works
- Simple Ingredients: You only need pantry staples and malted milk powder to bring that classic malt flavor home.
- No Special Equipment: All you need is a fridge, freezer, and a bowl to make these, so anyone can do it.
- Customizable Coatings: You get to choose whether to dip in chocolate or roll in nuts, sprinkles, or coconut—perfect for your taste!
- Perfect Texture: Chilling the mixture and freezing the balls helps get that delightfully crispy bite inside a smooth chocolate shell.

Ingredients & Why They Work
I love how straightforward this Homemade Malted Milk Balls Recipe is when it comes to ingredients. There’s a mix of dry powders that bring that malt flavor punch and richness, and then the wet ingredients that help everything come together just right. Here’s why each matters:
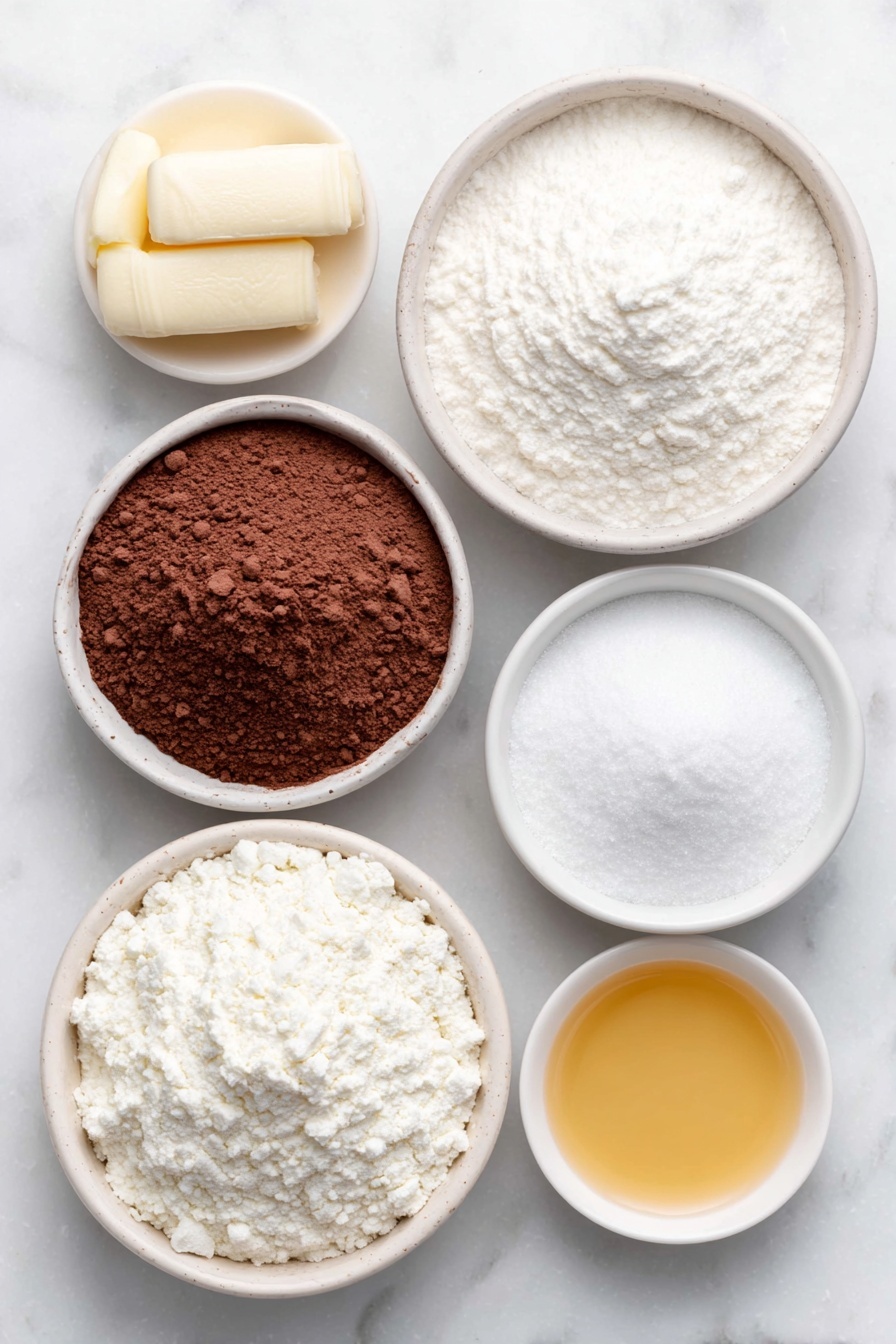
- Malted milk powder: This is the star here—it gives the malted flavor we all crave and a slight crunch once frozen.
- Powdered sugar: Adds sweetness and helps make the texture smooth and less grainy.
- Cocoa powder: Gives a chocolatey depth that complements the malt perfectly.
- Salt: Just a pinch to balance out all the flavors and make everything pop.
- Milk: Binds everything together and adds creaminess.
- Vanilla extract: Enhances the flavor with that warm, comforting note.
Tweak to Your Taste
One of my favorite things about this Homemade Malted Milk Balls Recipe is how much you can play around with it. Whether you want them a little sweeter, a little richer, or coated in something fun, I encourage you to make it yours. I’ve tried a few variations myself, and it’s always a hit!
- Add a pinch of cinnamon or espresso powder: I tried adding a little cinnamon once, and it gave a subtle warmth that paired beautifully with the malt and chocolate.
- Use almond milk or oat milk: If you want a dairy-free twist, these work well and keep the fats balanced.
- Coatings like crushed nuts or toasted coconut: Rolling the balls in these before freezing adds crunch and an extra layer of flavor.
Step-by-Step: How I Make Homemade Malted Milk Balls Recipe
Step 1: Whisk Dry Ingredients Together
Start by combining your malted milk powder, powdered sugar, cocoa powder, and salt in a bowl. Whisking everything together before adding the wet ingredients helps the powders blend evenly and prevents clumps later on. I always give it a good stir here so the cocoa powder doesn’t get lumpy—this little step really pays off when shaping the balls.
Step 2: Mix Wet Ingredients Separately
In another bowl, whisk your milk and vanilla extract together until combined. Make sure your milk isn’t too cold straight from the fridge—that way, the malt powder absorbs better and your mixture won’t be lumpy. I usually let the milk sit out for five minutes while I handle the dry ingredients.
Step 3: Bring It All Together & Chill
Add the wet mixture to the dry and stir well until everything comes together into a thick, sticky dough. At first, it might look crumbly—that’s normal! Just keep mixing until it all sticks. Then pop it in the fridge for about 30 minutes to firm up. This chilling step makes rolling the balls so much easier and less sticky, which trust me, you’ll appreciate.
Step 4: Roll and Freeze the Balls
Once chilled, grab a spoon or clean hands and roll the mixture into small balls, about one inch in diameter. Place them on a parchment-lined baking sheet so they don’t stick and freeze for 30 minutes. Freezing here solidifies the centers so they don’t fall apart when you dip them in chocolate.
Step 5: Coat with Melted Chocolate
Melt your chocolate in a double boiler or microwave (heat in short bursts and stir in between). Then carefully dip each frozen ball into the warm chocolate, letting any excess drip off before placing them back on the parchment paper. This step creates that glossy, delicious shell. Freeze again for 30 minutes until the chocolate hardens.
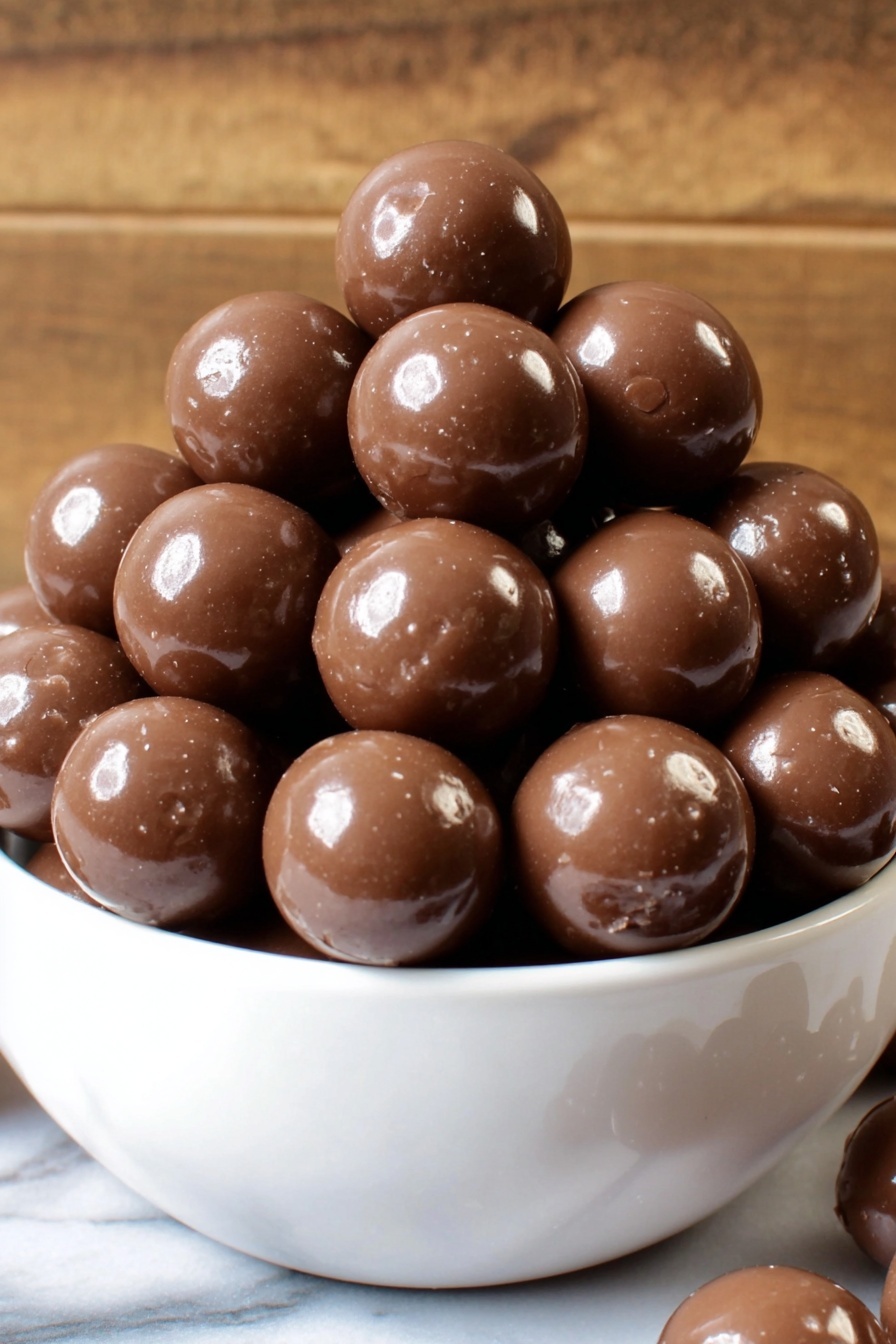
Step 6: Store and Enjoy
Once your chocolate is fully set, transfer the malted milk balls to an airtight container and keep them in the fridge for up to two weeks. They’re a perfect anytime indulgence and something to show off if friends stop by!
Pro Tips for Making Homemade Malted Milk Balls Recipe
- Use Room Temperature Milk: This helps the powders absorb properly, preventing lumps and making rolling easier.
- Work Quickly When Dipping: The balls thaw quickly while dipping, so dip small batches at a time to keep them solid.
- Customize Coatings: Experiment with crushed nuts or sprinkles for fun textures and flavors.
- Avoid Overheating Chocolate: Melt it gently to keep it smooth and glossy for a perfect shell.
How to Serve Homemade Malted Milk Balls Recipe
Garnishes
I usually keep it simple and serve the malted milk balls as-is, but sometimes I like to dust them very lightly with cocoa powder or even sprinkle a tiny bit of flaky sea salt on top right after dipping for a flavor contrast. It’s such a lovely touch that makes the flavors pop and adds an elegant feel if you’re sharing these with guests.
Side Dishes
These malted milk balls go great alongside a cup of rich coffee or an old-fashioned milkshake for a fun throwback dessert combo. I’ve also paired them with vanilla ice cream scoops for a decadent treat at gatherings—kids and adults alike love this pairing!
Creative Ways to Present
For birthdays or holidays, I like arranging the malted milk balls in cute mini cupcake liners or putting them inside a decorative jar tied with a ribbon for gifting. Sometimes I drizzle a bit of white chocolate over them for a fancy finish. Trust me, presentation makes all the difference if you want to impress someone!
Make Ahead and Storage
Storing Leftovers
I store leftover malted milk balls in an airtight container in the fridge, and honestly, they hold up really well for up to two weeks. Just keep them cool and away from moisture to avoid any sogginess. They make a fantastic treat whenever you need a little pick-me-up!
Freezing
If you want to keep them longer, freezing works perfectly. I wrap them loosely in parchment and place them in a freezer-safe container. When you’re ready to enjoy, just thaw in the fridge for about 20–30 minutes. The texture remains surprisingly fresh and crunchy!
Reheating
Since these are candies, reheating is not necessary. If you want to soften them slightly, just leave them at room temperature for 15–20 minutes before serving—but keep in mind the chocolate coating will soften too, so handle gently.
FAQs
-
Can I use regular milk powder instead of malted milk powder?
Regular milk powder won’t give you that distinct malt flavor that malted milk powder provides, but if you only want the texture, it’s possible. Just keep in mind the final taste will be a bit different—less of that nostalgic malted goodness.
-
What type of chocolate is best for coating?
I recommend using a good-quality semi-sweet or milk chocolate that melts smoothly. If you want an extra shiny finish, you can add a bit of coconut oil or cocoa butter when melting. Avoid chocolate chips that contain stabilizers as they might not melt well.
-
How do I prevent the balls from sticking to my hands?
Chilling the mixture first is key—this helps firm it up and makes rolling easier. You can also lightly dust your hands with cocoa powder or powdered sugar when shaping the balls to reduce stickiness.
-
Can I make this recipe vegan?
Yes! Substitute the milk with your favorite plant-based milk like almond, oat, or coconut milk. Make sure to choose vegan chocolate for dipping as well. The texture and flavor will still be delicious with these swaps.
Final Thoughts
This Homemade Malted Milk Balls Recipe really takes me back to those simple joys of childhood while letting me add my own twist. It’s so satisfying to make these from scratch and see the smiles they bring around the table. I hope you enjoy making them as much as I do—once you try, I bet you’ll keep coming back for more. Give it a go, and don’t forget to share with the people you love because everyone deserves a little malted magic in their lives!
Print
Homemade Malted Milk Balls Recipe
- Prep Time: 10 minutes
- Cook Time: 35 minutes
- Total Time: 45 minutes
- Yield: 24 balls
- Category: Snack
- Method: No-Cook
- Cuisine: American
- Diet: Vegetarian
Description
Delicious homemade malted milk balls made with malted milk powder, cocoa, and a rich chocolate coating. Perfect as a sweet snack or dessert treat, these balls are easy to make and can be customized with different coatings.
Ingredients
Dry Ingredients
- 1 cup malted milk powder
- 1/2 cup powdered sugar
- 1/2 cup cocoa powder
- 1/2 teaspoon salt
Wet Ingredients
- 1/2 cup milk
- 1 tablespoon vanilla extract
Coating
- Chocolate for melting (approx. 1 cup chocolate chips or chopped chocolate)
Instructions
- Mix Dry Ingredients: In a bowl, whisk together the malted milk powder, powdered sugar, cocoa powder, and salt until well combined.
- Combine Wet Ingredients: In a separate bowl, whisk together the milk and vanilla extract until smooth.
- Form Dough: Pour the wet ingredients into the dry ingredients and stir thoroughly until a uniform mixture forms.
- Chill Mixture: Place the mixture in the refrigerator for 30 minutes to firm up, making it easier to handle.
- Shape Balls: Once firm, use a spoon or your hands to roll the mixture into approximately 24 small balls.
- Freeze Balls: Arrange the balls on a parchment paper-lined baking sheet and place them in the freezer for 30 minutes to solidify.
- Melt Chocolate: Melt the chocolate using a double boiler or microwave-safe bowl, stirring frequently until smooth.
- Coat Balls: Dip each chilled ball into the melted chocolate, then place it back onto the parchment paper-lined tray.
- Final Freeze: Freeze the chocolate-coated balls for an additional 30 minutes or until the chocolate is set and firm.
- Store: Keep the malted milk balls stored in an airtight container in the refrigerator for up to 2 weeks.
Notes
- This recipe can be easily doubled or tripled to make larger batches.
- You can customize the coating by using sprinkles, chopped nuts, or shredded coconut instead of chocolate.
- If short on time, refrigerate the balls for 2 hours instead of freezing before dipping in chocolate.
- Use parchment paper to prevent sticking and make cleanup easier.
- Let the chocolate cool slightly before dipping to avoid melting the balls.
Nutrition
- Serving Size: 1 ball
- Calories: 70 kcal
- Sugar: 6 g
- Sodium: 30 mg
- Fat: 4 g
- Saturated Fat: 2.5 g
- Unsaturated Fat: 1 g
- Trans Fat: 0 g
- Carbohydrates: 8 g
- Fiber: 1 g
- Protein: 1 g
- Cholesterol: 0 mg