
No-Bake Cheesecake with Condensed Milk Recipe
If you’re craving a rich and creamy dessert that doesn’t require firing up the oven, then you’re going to love this No-Bake Cheesecake with Condensed Milk Recipe. It’s one of my go-to recipes when I want something impressive but fuss-free. The texture is silky smooth, thanks to the magic of sweetened condensed milk, and the buttery cookie crust is just the right balance of crunch and flavor. Stick with me, and I’ll walk you through every step so your cheesecake turns out beautifully every time!
Why This Recipe Works
- Simplicity at Its Best: Just three main ingredients in the filling make for a super easy and fail-proof cheesecake.
- Condensed Milk Creaminess: The sweetened condensed milk creates a silky, luscious texture without baking.
- No Oven Needed: Perfect for hot days or when you want to skip turning on the oven but still impress your guests.
- Versatile Crust Options: Using vanilla wafers or digestives means this cheesecake’s crust can adapt to what you have on hand.

Ingredients & Why They Work
The magic of this No-Bake Cheesecake with Condensed Milk Recipe lies in ingredients that are both pantry-friendly and harmonious. The vanilla wafer crust provides the perfect crunch and sweetness while the cream cheese and condensed milk combine for that iconic silky filling. Let’s break down why each one shines.
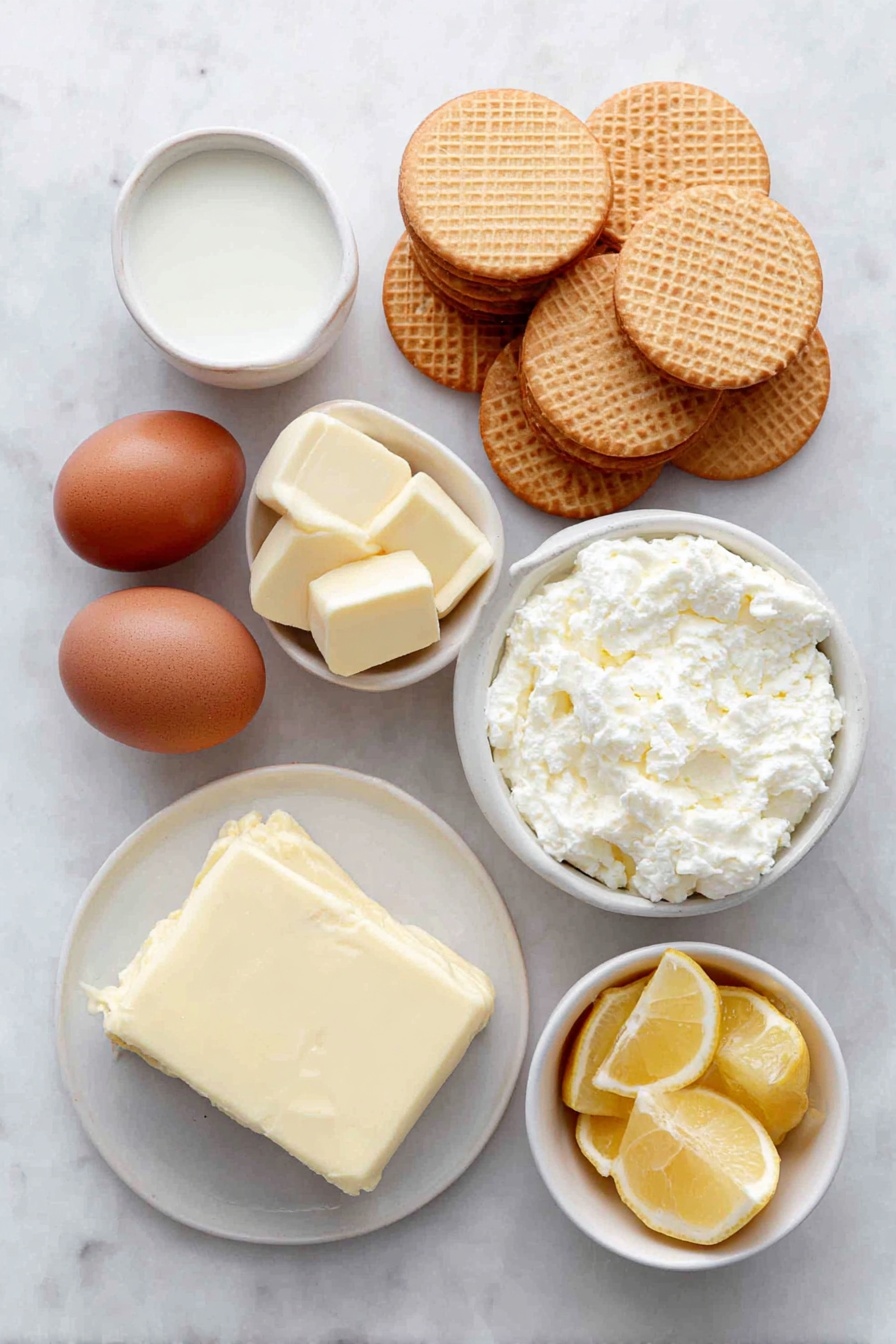
- Vanilla Wafers: These give a naturally sweet, buttery crumb; they’re super easy to crush and mold into the base.
- Salted Butter: The melted butter binds the crust crumbs and adds richness; I like salted for that slight flavor boost.
- Full-Fat Cream Cheese: A must for firmness and that classic cheesecake tang; softened to blend smoothly.
- Sweetened Condensed Milk: Brings sweetness and helps the batter set without any baking.
- Lemon Juice: Just enough to brighten and balance the richness with a subtle zing.
Tweak to Your Taste
I always encourage you to make this no-bake cheesecake your own. Whether it’s swapping out the crust base or adding your favorite twists to the filling, this recipe is super flexible. Here’s how I sometimes mix it up:
- Variation: I love adding a splash of vanilla extract or almond extract to the filling for extra aroma—trust me, it’s a game changer.
- Dietary Adjustments: Substituting the cream cheese with a lactose-free alternative worked well for me when a friend visited with sensitivity.
- Seasonal Fruits: Fresh berries or passion fruit pulp on top brighten the flavor and presentation, especially in summer.
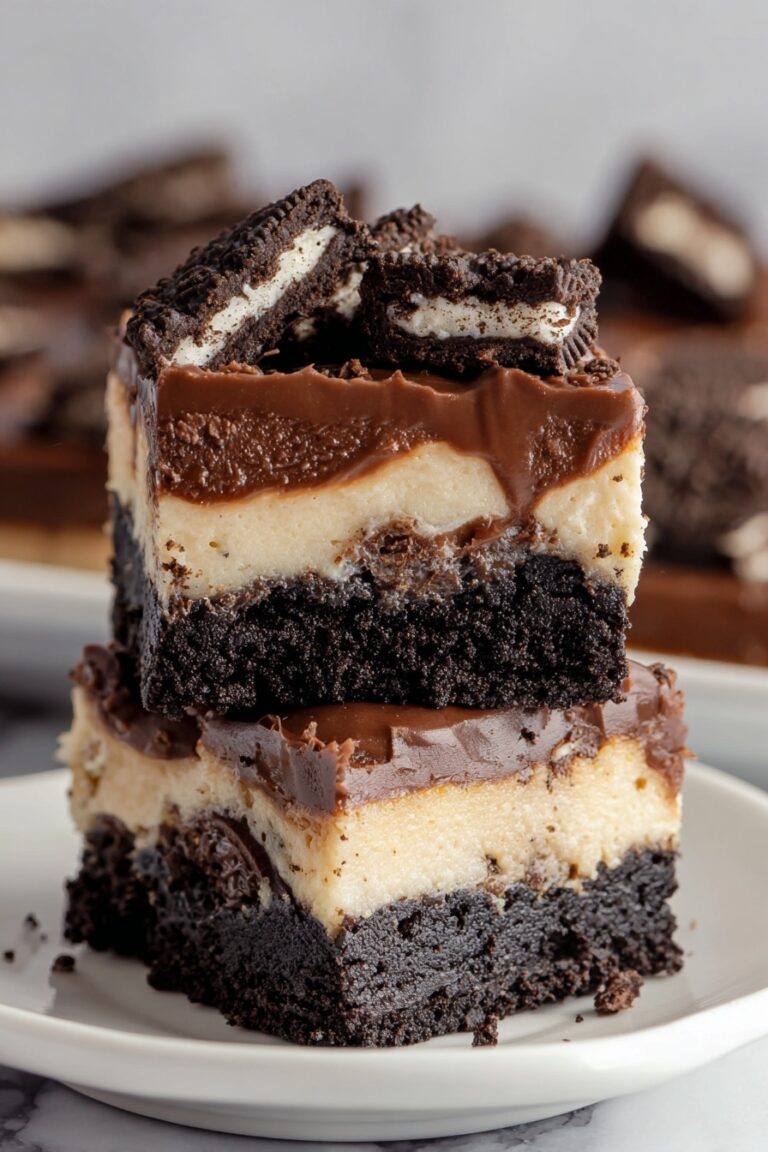
- Chocolate Crust: Using crushed Oreos instead of vanilla wafers gives a rich, chocolatey twist that guests always ask for.
Step-by-Step: How I Make No-Bake Cheesecake with Condensed Milk Recipe
Step 1: Crush the Cookies to Perfection
I usually throw the vanilla wafers into a large resealable bag and pound them with a rolling pin on a folded kitchen towel. The key is to crush them evenly—not too powdery, but fine enough to pack tightly. If you’ve got a food processor, it’s even quicker, but don’t overdo it or you’ll get crumbs too fine to hold structure.
Step 2: Melt and Mix Your Butter
Melt your salted butter gently in the microwave in short bursts, stirring between, so it doesn’t burn or separate. Then combine it with your cookie crumbs until every bit is coated. I like to press the crust firmly and evenly into the bottom and edges of a springform pan—using a measuring cup helps to compact it well. Pop it straight into the fridge to get firm while you prepare the filling.
Step 3: Whip Up the Creamy Filling
Once the cream cheese is softened (tip: leave it out at room temperature for about an hour), beat it on medium speed until silky smooth. Gradually pour in the condensed milk and keep mixing—scraping the bowl down to keep everything uniform. A splash of fresh lemon juice brightens the flavor and helps the filling set nicely. You’ll see the texture thicken up as you beat it.
Step 4: Assemble and Chill
Pour your luscious filling over the chilled crust and smooth out the surface with an offset spatula if you want a polished look. Cover the pan tightly with plastic wrap and let it chill in the refrigerator for at least 5 to 6 hours—or ideally overnight—until it’s set and sliceable. Patience really pays off here.
Step 5: Decorate and Serve
This is the fun part! I usually top mine with fresh berries and a few dollops of whipped cream, but a drizzle of chocolate or a scattering of toasted coconut can be just as stunning. Keep it refrigerated until ready to serve and slice carefully with a hot knife for clean edges. You’ll be amazed at how creamy yet firm it is without ever seeing an oven.
Pro Tips for Making No-Bake Cheesecake with Condensed Milk Recipe
- Don’t Skip Softening the Cream Cheese: It makes blending so much easier and prevents lumps in your filling.
- Compact the Crust Firmly: Pressing down well creates a sturdy base that holds up when slicing.
- Chilling Time is Key: Give it plenty of fridge time—overnight is best to achieve that perfect set texture.
- Use an Offset Spatula for a Smooth Top: It’s worth the little extra effort for a polished, bakery-style finish.
How to Serve No-Bake Cheesecake with Condensed Milk Recipe

Garnishes
For me, topping this cheesecake with fresh blueberries and a few mint leaves is a simple, elegant choice. On occasion, I’ll swirl some homemade raspberry sauce or scatter chopped toasted nuts. These additions contrast the creamy sweetness and add lovely textures. Feel free to experiment with whatever fresh fruit or chocolate accents you have around.
Side Dishes
This cheesecake pairs wonderfully with a light cup of coffee or a fresh herbal tea. For brunch or a special gathering, I’ve served it alongside fresh fruit salad or a bowl of mixed berries. It balances nicely against tart or citrusy sides that cut through the sweetness.
Creative Ways to Present
One time, I made a no-bake cheesecake in individual mason jars topped with layered fruits and whipped cream—super cute for parties or gifts. Another trick is using edible flowers or finely grated dark chocolate on top for a fancy, Instagram-worthy finish. Presentation can be as simple or elaborate as you like!
Make Ahead and Storage
Storing Leftovers
I keep leftover cheesecake covered tightly in the fridge, either in the springform pan if space allows or transferred to an airtight container. It stays fresh and creamy for about 3 to 4 days. Make sure to use a clean knife each time to keep it pristine!
Freezing
I’ve frozen slices successfully by wrapping them in plastic wrap and placing them in a freezer bag. When thawing, I recommend moving them to the fridge overnight for best texture retention. Just remember the crust might soften a bit, but the flavor stays spot on.
Reheating
This cheesecake is best enjoyed chilled, so reheating isn’t necessary. If the texture feels a bit stiff after the fridge, let slices sit at room temperature for 10-15 minutes before serving to soften gently.
FAQs
-
Can I use a different type of cookie for the crust?
Absolutely! While vanilla wafers are my favorite, you can easily substitute Graham crackers, digestive biscuits, shortbread cookies, or even Oreos for a chocolate crust. Just remember to adjust the sugar in the crust if you use less sweet cookies.
-
What kind of cream cheese should I use?
Use full-fat block-style cream cheese for the best texture and firmness. Avoid spreadable or whipped varieties as they contain extra liquid and won’t set as well.
-
Do I have to refrigerate the cheesecake overnight?
While you can chill it for 5 to 6 hours and it will be set, overnight chilling results in a firmer texture and better flavor melding, so I highly recommend it.
-
Can I add flavorings or extracts to the filling?
Yes! Vanilla or almond extract are popular additions. I like adding a teaspoon to give the filling a little extra depth without overpowering the lemon juice balance.
-
Is this recipe suitable for beginners?
Definitely! This no-bake cheesecake is incredibly straightforward, needs minimal equipment, and is forgiving of small tweaks. It’s a fantastic recipe to build confidence in cheesecake making.
Final Thoughts
This No-Bake Cheesecake with Condensed Milk Recipe holds a special place in my heart because it’s one of those treats that seems fancy but is actually so simple to whip up. I’ve shared it countless times with friends and family, and it always disappears fast. If you’re after a creamy, indulgent dessert that won’t stress you out, give this recipe a try—I promise it will quickly become a favorite in your dessert rotation too. Grab your mixer, gather those ingredients, and enjoy the sweet reward!
Print
No-Bake Cheesecake with Condensed Milk Recipe
- Prep Time: 45 minutes
- Cook Time: 0 minutes
- Total Time: 6 hours 45 minutes
- Yield: 12 servings
- Category: Dessert
- Method: No-Cook
- Cuisine: American
Description
A creamy and delicious no-bake cheesecake made with a crumbly vanilla wafer crust and a smooth filling of cream cheese and sweetened condensed milk. This easy-to-make dessert requires no oven and is perfect for chilling overnight to achieve the best texture.
Ingredients
Crust
- 2 1/4 cups vanilla wafers crumbs (300 g / 10.6 oz)
- 10 tbsp salted butter, melted (140 g / 4.9 oz)
Filling
- 16 oz full-fat cream cheese, softened (450 g, approx. 2 x 8-oz packs)
- 1 can sweetened condensed milk (14 oz / 400 g)
- 2 tbsp lemon juice
Instructions
- Crush cookies: Place vanilla wafers in a large resealable plastic bag on a folded kitchen towel and pound with a rolling pin until finely crushed. Alternatively, use a food processor or blender to crush the cookies.
- Melt butter: Put the butter in a large mixing bowl, cover with plastic wrap, and microwave at medium power in 20-second bursts until melted, stirring after each burst.
- Make the crust: Add the cookie crumbs to the melted butter and mix thoroughly. Press the mixture firmly into the bottom and sides of a 9-inch (23 cm) springform pan using a measuring cup or your hands to compact it. Refrigerate to chill the crust.
- Mix cheesecake filling: Wipe the mixing bowl clean, add the softened cream cheese, and beat with an electric mixer at medium speed until smooth. Gradually add the sweetened condensed milk while continuing to beat, scraping the sides of the bowl as needed. Add the lemon juice and beat again until the mixture thickens.
- Assemble cheesecake: Pour the filling over the chilled crust and smooth the top with an offset spatula if desired.
- Refrigerate: Cover the springform pan with plastic wrap and chill for about 5 to 6 hours or overnight until firm.
- Decorate (optional): Once set, garnish the cheesecake with toppings like chocolate drizzle, sprinkles, whipped cream swirls, or fresh fruit and berries.
- Serve: Keep refrigerated until ready to serve. Remove the springform ring, slice, and enjoy your no-bake cheesecake.
Notes
- You can use Graham crackers, digestive biscuits, shortbread cookies, or Oreos for the crust instead of vanilla wafers. If using Graham crackers or digestive biscuits, add 3 tablespoons granulated sugar for sweetness.
- Use dense block-style cream cheese, not spreadable or whipped cream cheese, to ensure the cheesecake firms up properly.
- If block cream cheese is unavailable, buy 600 g full-fat cream cheese and squeeze out excess liquid using a cheesecloth until you have about 450 g of firm cream cheese.
- Press crust mixture firmly to avoid crumbling when slicing.
- Chilling the cheesecake overnight is recommended for best texture and flavor.
Nutrition
- Serving Size: 1 slice
- Calories: 350 kcal
- Sugar: 28 g
- Sodium: 180 mg
- Fat: 24 g
- Saturated Fat: 15 g
- Unsaturated Fat: 8 g
- Trans Fat: 0 g
- Carbohydrates: 28 g
- Fiber: 1 g
- Protein: 5 g
- Cholesterol: 70 mg

