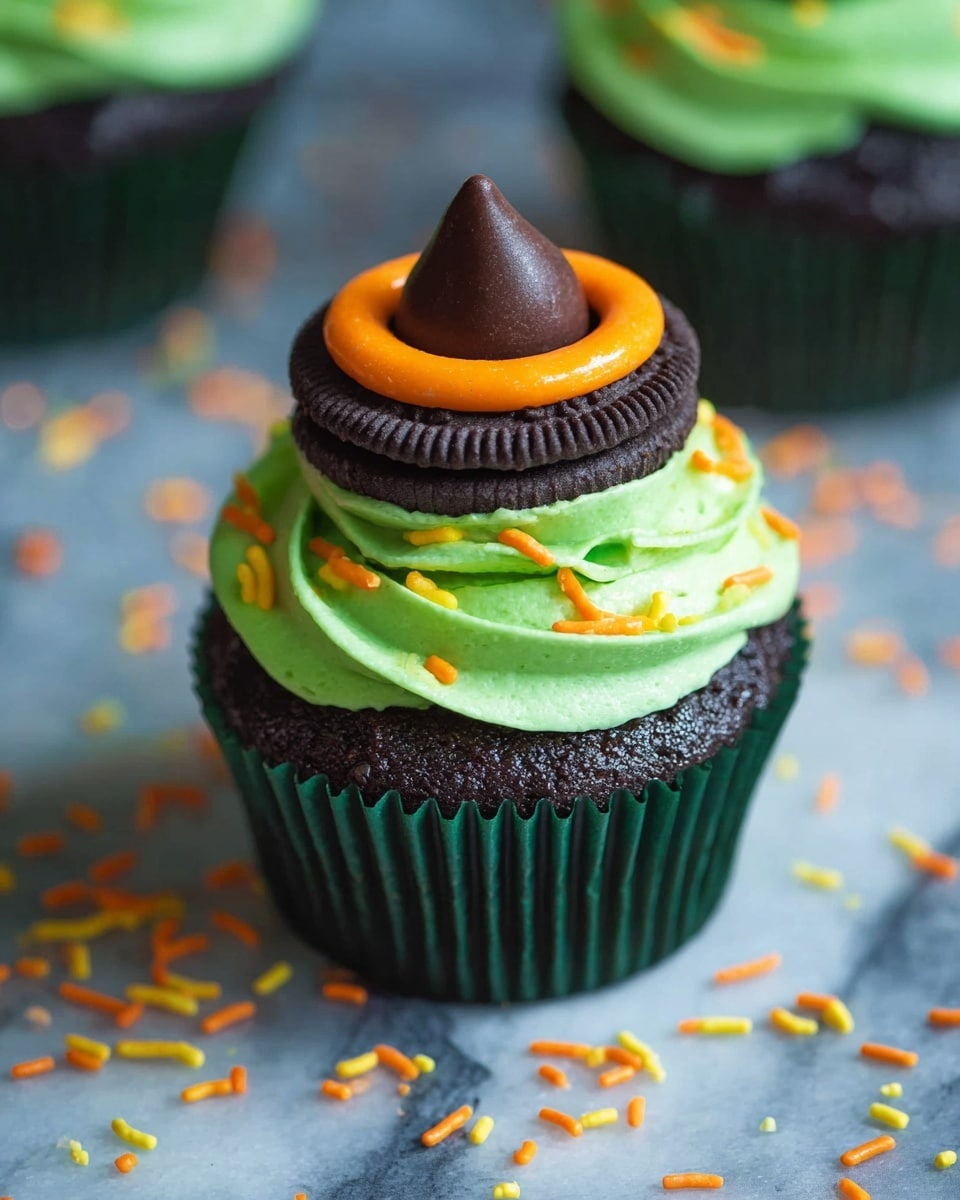
Witch Hat Cupcakes Recipe
If you’re on the hunt for an easy, festive treat that’s sure to wow your friends and family, you have to try my Witch Hat Cupcakes Recipe. These adorable little desserts not only taste fantastic, but their playful witch hat decorations bring a touch of spooky charm that’s perfect for Halloween parties or any fall gathering. Trust me, once you see how simple they are to make, you’ll be reaching for Oreos and Hershey’s kisses in no time!
Why This Recipe Works
- Simple Ingredients: Uses easily available items like Oreos and Hershey’s Kisses, so no need for specialty shopping trips.
- Fun and Festive: The witch hat decoration is quick to assemble but delivers a big visual impact.
- Cream Cheese Frosting: Gives a smooth, tangy contrast to the sweet chocolate cupcake, balancing flavors perfectly.
- Kid-Friendly: Easy enough for little helpers to get involved with decorating, making it a great activity too.

Ingredients & Why They Work
This Witch Hat Cupcakes Recipe is all about classic flavors that come together to make a magical treat. The chocolate cupcake base is rich yet tender, while the cream cheese frosting adds creaminess with a bit of tang – perfect companions. The Oreo “hat brim” and Hershey’s Kiss “hat tip” are not just cute, but add satisfying textures, rounding out the experience.

- Chocolate Cupcakes: Choose your favorite recipe or box mix, just make sure they’re moist for the best result.
- Oreos: The classic cookie halves form the perfect brim of the witch’s hat; gently twist to keep them intact.
- Hershey’s Kisses: Their conical shape makes the iconic tip of the witch’s hat without any carving.
- Cream Cheese Frosting: Provides a creamy, slightly tangy contrast that holds the goodies firmly in place.
- Food Coloring: Green and orange colors make the frosting pop with Halloween vibes.
- Sprinkles: White and orange sprinkles add a whimsical charm and extra crunch.
Tweak to Your Taste
What I love most about this Witch Hat Cupcakes Recipe is how easy it is to make it your own. I’ve played with different frosting colors and sprinkle combos, but you can really customize these cupcakes to fit your style or dietary needs without fuss.
- Flavor Variations: I once swapped orange frosting for purple, and it looked hauntingly gorgeous! You can even use flavored frosting like mint or pumpkin spice to mix it up.
- Dietary Mods: For a dairy-free twist, coconut cream frosting works nicely if you’re careful about brands with no hidden dairy.
- Decoration Ideas: If Oreos aren’t your thing, try chocolate cookie rounds or biscuit bases—just pick something sturdy enough to hold that Hershey’s Kiss.
Step-by-Step: How I Make Witch Hat Cupcakes Recipe
Step 1: Prepare Your Frosting with Color
Start by making your cream cheese frosting—trust me, it’s easiest if you make this ahead so it’s set and perfect for piping. Once it’s ready, scoop out about half a cup into a small separate bowl. Color the big batch green and the smaller portion orange using gel food coloring—the gels won’t thin out your frosting, which is key for that perfect piping texture.
Step 2: Assemble Your Witch Hat Tops
Now, split the Oreo cookies in half carefully; the goal is to keep the top half whole because it becomes the hat brim. Place a small spoonful of orange frosting onto the center of the Oreo half, then gently press a Hershey’s Kiss down on top. You’ll get a cute little witch hat shape immediately. Sprinkle a few white and orange sprinkles around the frosting for some extra flair. Set these aside on a plate.
Step 3: Frost the Cupcakes with Green Magic
Pipe the green frosting onto the center of each cupcake, but don’t spread it all the way to the edges. I like to pile it up gently into a few layers to form the “hat’s head” before the brim goes on. This helps the Oreo hat sit perfectly and not slide off. Use a medium round piping tip or just a zip-top bag with a corner snipped off—both work great.
Step 4: Finish and Chill
Carefully place the Oreo witch hats on top of each cupcake, pressing just enough so they stick to the frosting. When all your cupcakes are assembled, pop them in the fridge covered until you’re ready to serve. This keeps the frosting firm and the decorations intact, especially on a warm day.
Pro Tips for Making Witch Hat Cupcakes Recipe
- Keep Oreos Dry: Make sure the Oreo cookies are at room temperature and dry before frosting to prevent sogginess.
- Use Gel Food Coloring: It gives vibrant color without thinning the frosting like liquid dyes can.
- Pipe Slowly: When applying green frosting, go slow to get even, stacked layers that give good height.
- Chill Before Serving: Refrigeration makes removal from cupcake liners easier and keeps hats securely in place.
How to Serve Witch Hat Cupcakes Recipe
Garnishes
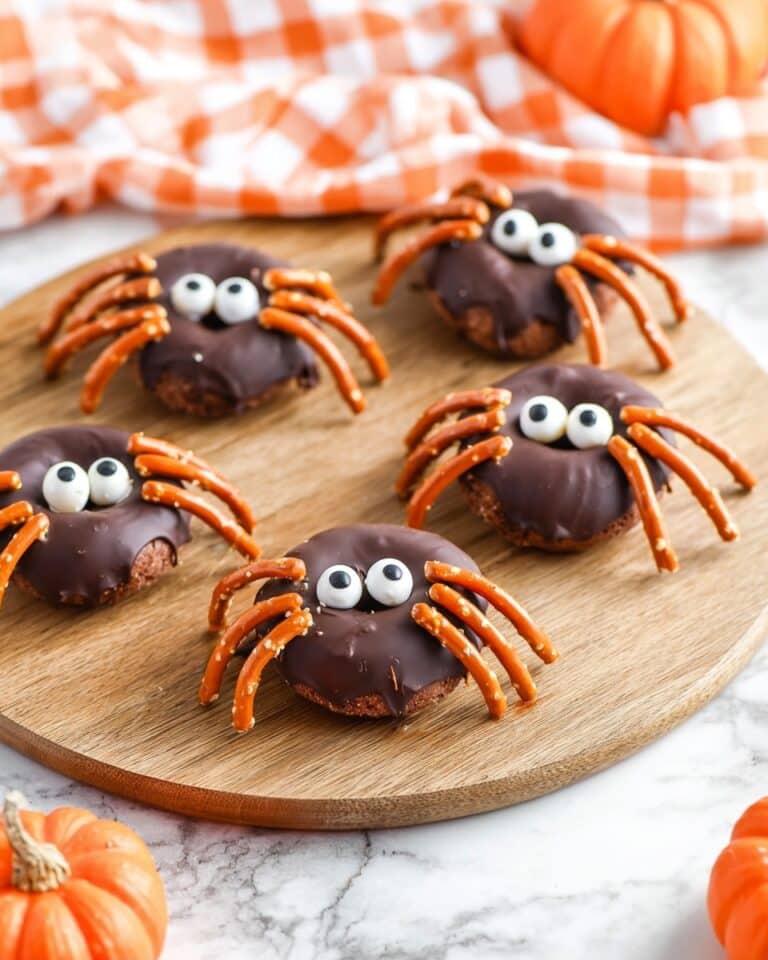
I love adding a sprinkle mix that combines white and orange confetti sprinkles, plus a touch of edible glitter when I’m feeling fancy. It not only looks festive but adds a fun little crunch that kids adore. Sometimes I add tiny candy spiders to really lean into the Halloween vibe!
Side Dishes
These cupcakes shine as a sweet finale, but I’ve served them alongside spiced apple cider and a big bowl of caramel popcorn at parties. The combination is cozy and festive, balancing sweet and spice perfectly.
Creative Ways to Present
One year, I arranged these Witch Hat Cupcakes Recipe on a tiered stand decorated with cobwebbing and tiny plastic bats, which made for a show-stopping centerpiece at our Halloween bash. Another fun idea is to serve them in mini cauldrons or atop a scatter of candy corn for extra atmosphere.
Make Ahead and Storage
Storing Leftovers
After the party, I store any leftover cupcakes in an airtight container in the fridge. This keeps the cream cheese frosting fresh and the decorations intact for up to 3 days. I always recommend taking them out 15-20 minutes before serving so they’re not too cold.
Freezing
If you want to make these in advance, you can freeze the cupcakes (without the Oreo hats) by wrapping them tightly in plastic wrap and then a freezer bag. When ready, thaw overnight in the fridge and decorate just before serving for the best texture.
Reheating
Since these are cupcakes, reheating isn’t really necessary or recommended, especially because of the frosting. However, letting them come to room temperature brings out the flavors best after refrigeration.
FAQs
-
Can I use store-bought cream cheese frosting for this recipe?
Absolutely! While homemade cream cheese frosting tastes amazing, store-bought versions work well too, especially if you add your own gel food coloring to make those festive green and orange hues.
-
How do I keep the witch hat decorations from sliding off?
Make sure to pipe enough frosting to create a slight mound that the Oreo cookie can rest on securely. Press the Hershey’s Kiss gently but firmly into the orange frosting spot on the cookie. Also, chilling the cupcakes before serving helps stabilize everything.
-
Can I make these cupcakes without baking from scratch?
Yes! You can use any boxed chocolate cupcake mix for a time-saving option. Just be sure to follow the package instructions closely to get moist, tender cupcakes perfect for these hats.
-
What if I don’t have green or orange food coloring?
No worries—you can simply use regular cream cheese frosting without coloring for a more classic look, or get creative by using purple, black, or other food-safe colors you have on hand for a fun twist!
Final Thoughts
This Witch Hat Cupcakes Recipe is one of those festive treats I’ve made year after year because it’s just so fun and foolproof. I love how it invites creativity but keeps things simple enough for anyone to nail. I honestly can’t wait for you to try making these little witch hats your own—it’s the perfect way to add some magic and sweetness to your celebrations. So grab your Oreos and frosting, and let’s bake some charm into your kitchen!
Print
Witch Hat Cupcakes Recipe
- Prep Time: 30 minutes
- Cook Time: 25 minutes
- Total Time: 55 minutes
- Yield: 12 cupcakes
- Category: Dessert
- Method: Baking
- Cuisine: American
- Diet: Vegetarian
Description
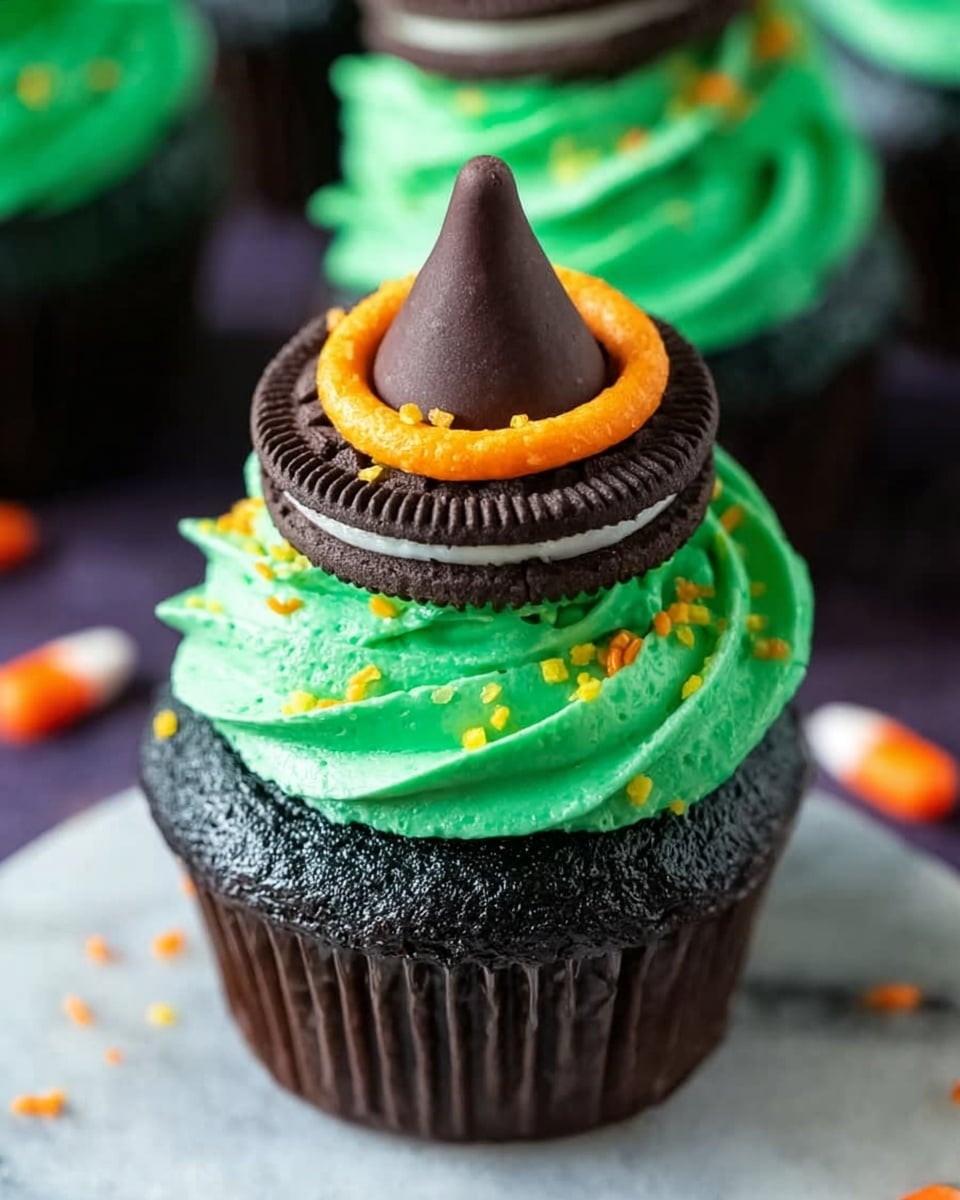
These Witch Hat Cupcakes are a fun and festive treat perfect for Halloween. Each chocolate cupcake is topped with a swirl of vibrant green cream cheese frosting and crowned with a spooky witch hat made from an Oreo cookie, a chocolate Hershey’s kiss, and colorful sprinkles. The combination of rich chocolate and tangy cream cheese frosting makes these cupcakes irresistibly delicious and visually appealing.
Ingredients
Cupcakes
- 12 chocolate cupcakes
Toppings
- 6 Oreo cookies
- 12 Hershey’s chocolate kisses
- 1/2 batch cream cheese frosting
- Green food coloring
- Orange food coloring
- White sprinkles
- Orange sprinkles
Instructions
- Prepare the frosting: After making the cream cheese frosting, separate ½ cup of the frosting into a small separate bowl. Color the larger amount of frosting green with green food coloring, and color the smaller amount orange with orange food coloring.
- Assemble the witch hats: Gently split each Oreo cookie in half to create the base of the witch hat. Place a very small spoonful of orange frosting in the center of the flat side of the Oreo half.
- Add the hat tip: Place a Hershey’s chocolate kiss on top of the orange frosting on each Oreo half and gently press down to secure it. Sprinkle white and orange sprinkles on top as decoration. Set the assembled witch hats aside.
- Frost the cupcakes: Pipe the green frosting onto the center of each cupcake, being careful not to go all the way to the edges. Wind the frosting gently upwards into a layered swirl to create a cone shape.
- Top with witch hats: Place an Oreo witch hat on top of the green-frosted swirl for each cupcake.
- Chill and serve: Refrigerate the cupcakes covered until ready to serve to allow the frosting to set and the decorations to stay in place.
Notes
- Use a piping bag with a round or star tip to create a neat swirl of frosting on each cupcake.
- If you don’t have cream cheese frosting ready, you can use store-bought or make a simple cream cheese frosting by beating cream cheese, butter, powdered sugar, and vanilla extract.
- Handle the Oreo cookies gently when splitting to avoid breaking them into uneven pieces.
- To make the witch hats more stable, chill them briefly before placing on cupcakes.
- These cupcakes can be stored in the refrigerator for up to 3 days.
Nutrition
- Serving Size: 1 cupcake
- Calories: 320 kcal
- Sugar: 25 g
- Sodium: 150 mg
- Fat: 18 g
- Saturated Fat: 8 g
- Unsaturated Fat: 7 g
- Trans Fat: 0 g
- Carbohydrates: 35 g
- Fiber: 2 g
- Protein: 4 g
- Cholesterol: 35 mg

